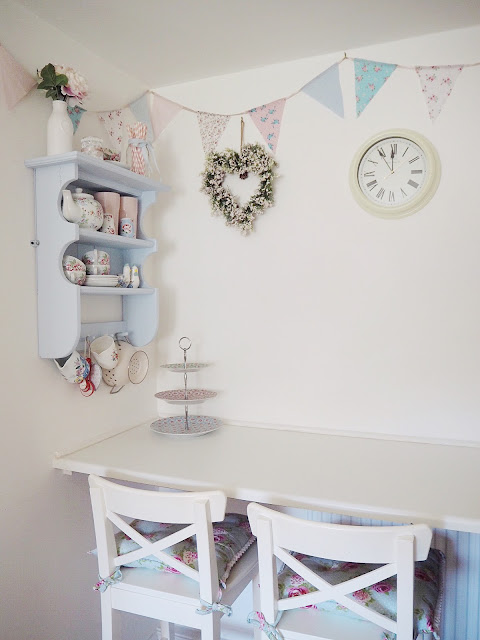
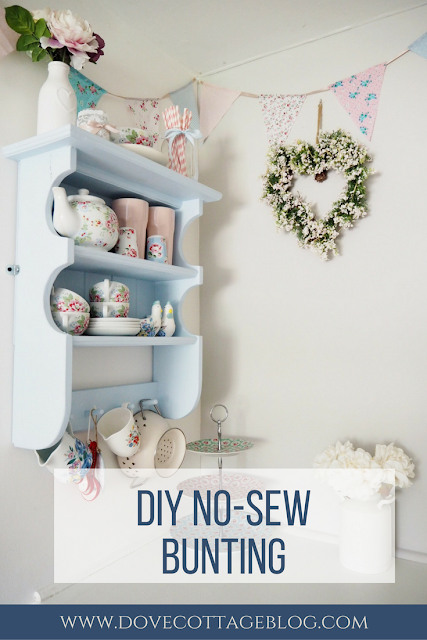
One of the main features in the reception room was 20m of bunting, all handmade by me - without a sewing machine too! Three years on its still going strong hanging pride of place in our kitchen, so I thought I'd share my no-sew method of making bunting quickly and easily.
You will need:
Material - I picked up a bargain pack of material in seven different patterns from eBay. I unfortunately can no longer find the listing I bought, however Hobbycraft do a range of fat quarters, which are similar
Ribbon - I used a thin pale pink satin ribbon similar to this one
PVA glue - £1.50, Hobbycraft
Paintbrush
Pinking shears - £5, Hobbycraft
Please note: This bunting was intended to hang against walls and surfaces, so isn't double sided. However, if you're looking for something to hang across rooms etc, I would recommend making double-sided flags.
Please note: This bunting was intended to hang against walls and surfaces, so isn't double sided. However, if you're looking for something to hang across rooms etc, I would recommend making double-sided flags.
Method:
- Measure out the ribbon to the length of bunting you want, adding 10cm either end for securing
- After much trial and error, I settled on the following measurements for my flags, however these may not suit what you have in mind, so it might be worth drawing out some paper templates to check these are the right size for your space. My flags are 20cm long and 15.5cm wide
- Don't forget to cut your material using pinking shears to ensure it doesn't fray
- Take your first flag, place facing downwards, and fold the top 1cm of the flag over the ribbon. Spread a thin layer of glue along the ribbon and fold the material down to stick. You may need to do the same to the other side of the ribbon and press down again, however I found that it was enough just to glue one side of the ribbon. Make sure you don't use too much glue here otherwise it'll seep through the material.
- Leave to dry - placing something heavy such as a book on top may help it to secure easier
- Move 6cm along the ribbon and stick your next flag. Continue with this until you've used up all your flags, don't forget to leave a final 10cm of ribbon at the end for securing to the wall
Hey presto, you're all done! It's as easy as that.


No comments
Post a Comment