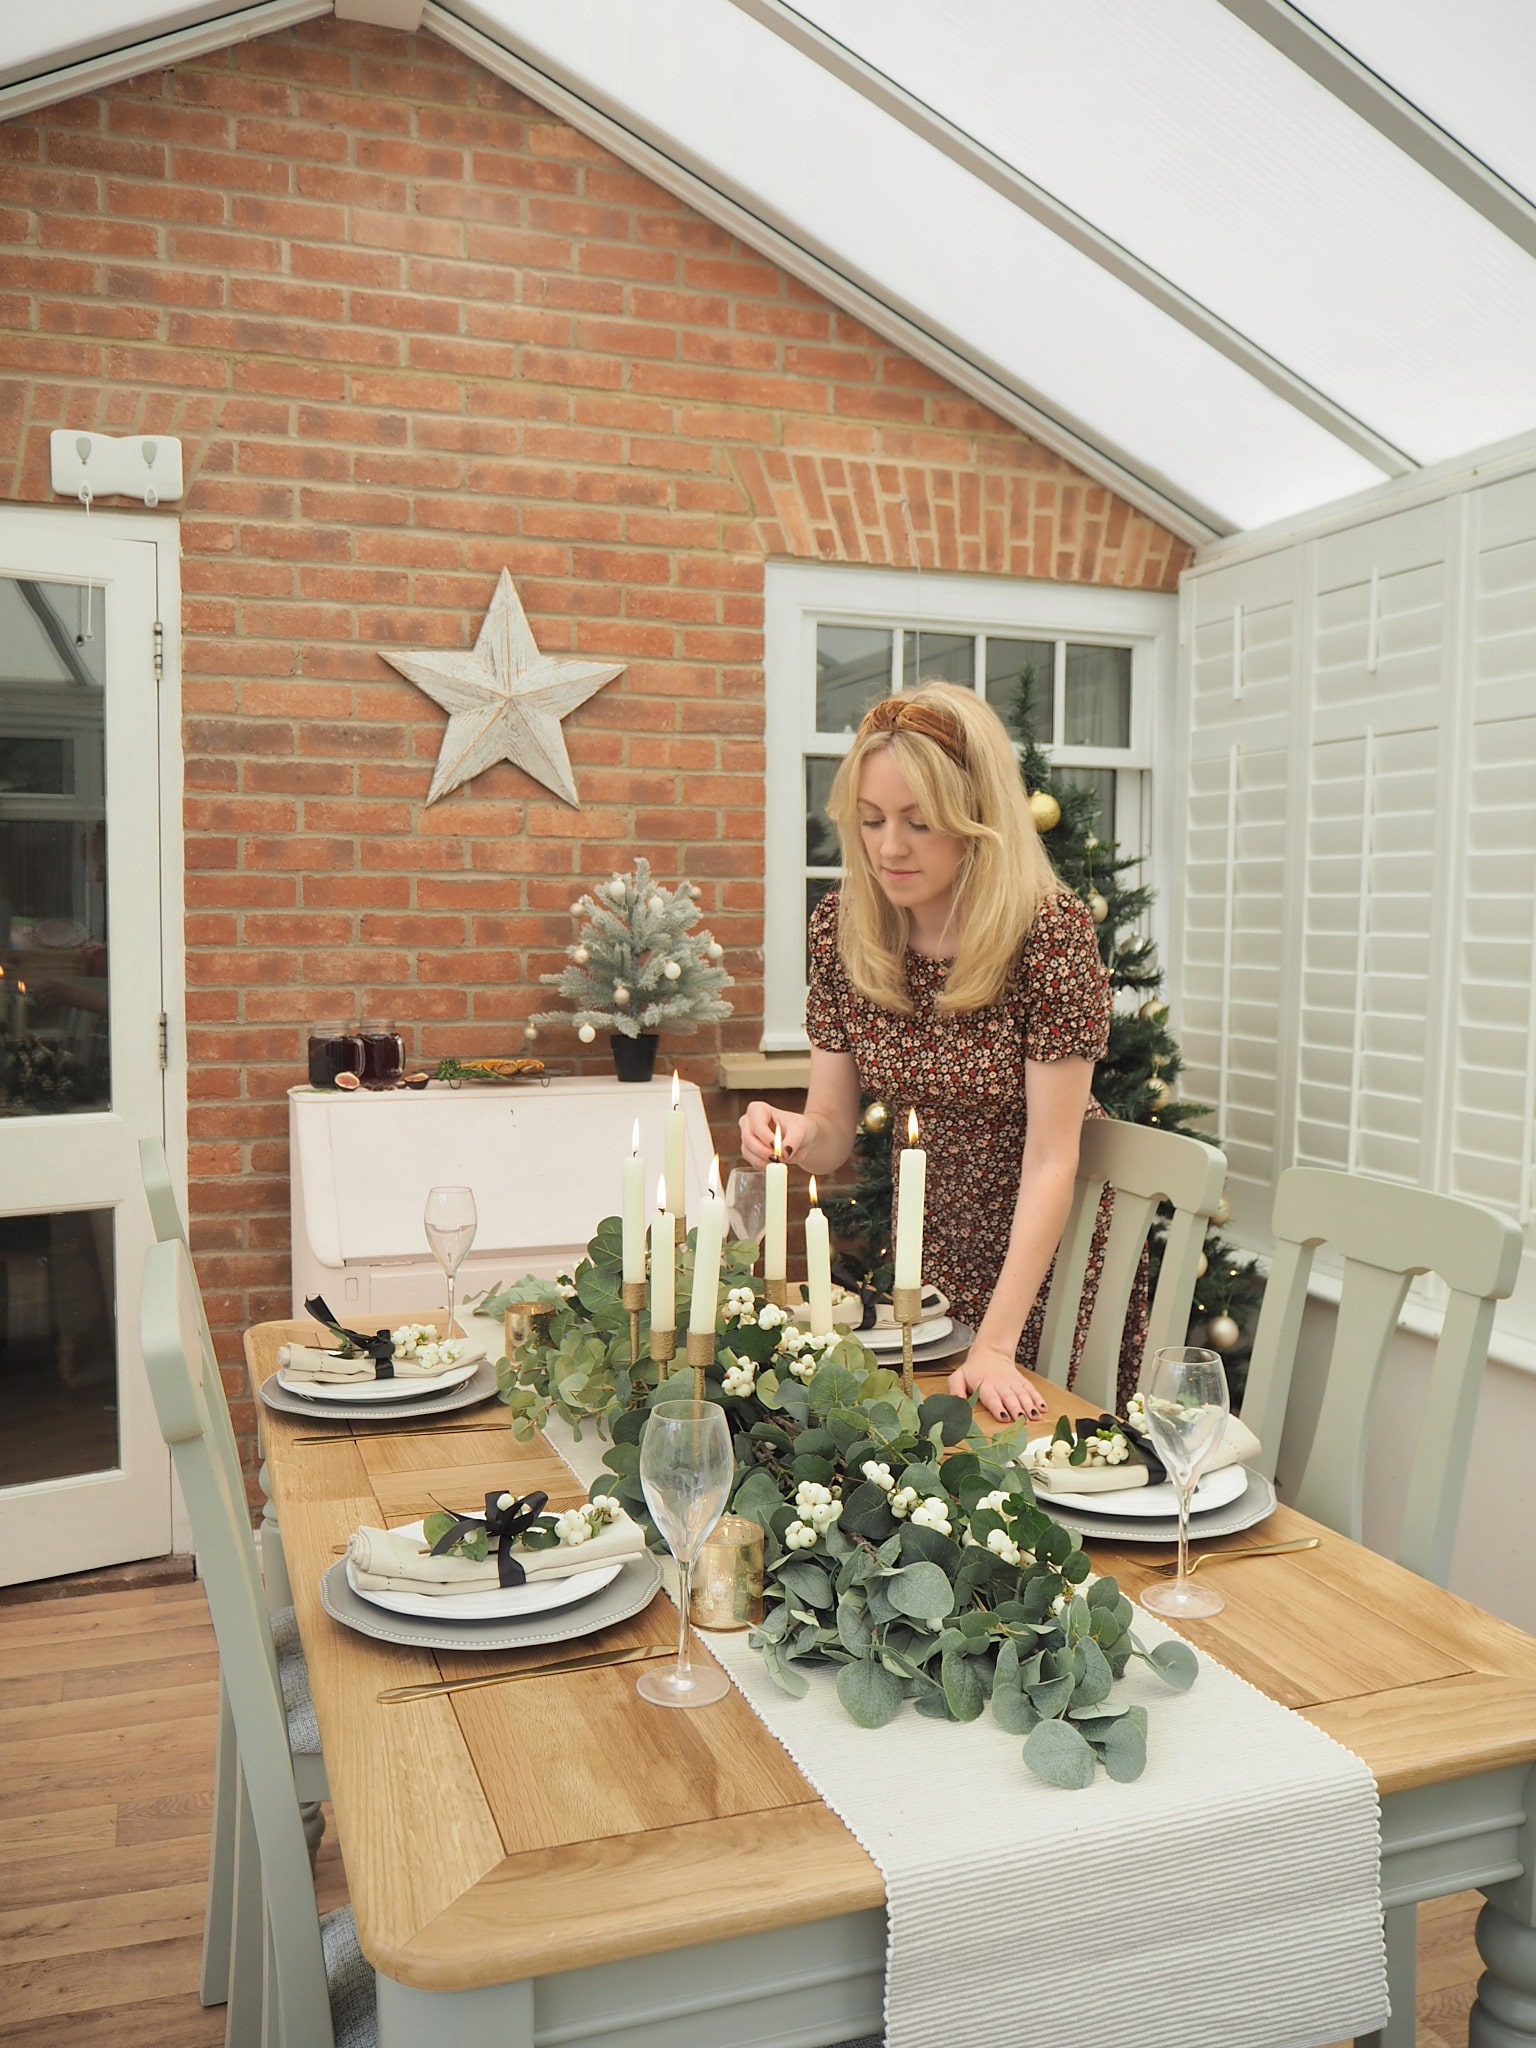
Last year I put together my favourite festive table display I think I've ever done, and while we all unfortunately might not be entertaining as many family members this time round, I thought it was still worth re-sharing as its a really simple, yet effective way of decorating your dining table.
Throughout this display, I've stuck with my favourite festive colour scheme of white, gold and green. I think its tempting to go big and include a bit of everything across your decorations, but sticking to two or three complementary colours will help create a cohesive look throughout your home, from room to room.
This is the perfect way of creating a show-stopping display on a tight budget - and not only that, but because the main display is made from artificial stems, you can save it and re-use again the following year. So here's exactly how I created a Christmas table display using artificial eucalyptus stems.
Everything I used
Stems of artificial eucalyptus - I've used 15 stems in this display. These are ones I've collected them over the years, and they're from a range of different places, including Amazon, John Lewis and IKEA
White snowberries - Despite going for faux greenery, I wanted to add a touch of real nature too. I've done this through two bunches of white snowberries, which I picked up from Marks & Spencer
Candlesticks - I've used an 8-stick candelabra, which I found in Homesense last year, however any tall candlesticks will create the same effect
Tea lights - I've added some tea lights in gold candle holders - these came as a set of three from Marks & Spencer
Runner - I chose a neutral coloured one to act as a base for the greenery, and not distract from it. This is again from Marks & Spencer
Cutlery - These are just a cheap set from eBay
Crockery - I've got four plates and side plates, which were from Sainsbury's
Napkins - I went with a neutral coloured linen to compliment the rest of the accessories. These were also from Sainsbury's
Ribbon - A simple black ribbon to tie off the napkins
Putting the garland together
Start by placing a runner along your table - I chose a neutral, light colour so not to distract from the overall look. Don't have a runner? Why not fold up a bed sheet or a large piece of material, which will work in the same way.
Place your candlesticks directly in the centre of the table, and arrange your eucalyptus stems around them. Poke the ends of the stems underneath each other to keep them hidden for a more realistic look, and lay them at different positions to hide any gaps and give a fuller appearance.
Once you're happy with how your eucalyptus is laid out, add the snowberries. I kept mine in water before the day to keep them looking as fresh as possible - you could even add these on the morning if you wanted to.
Finally, dot the tea light holders amongst the stems at various points along the table, making sure you have some on either side to keep the look symmetrical.
Place settings
Seeing as this display is quite busy, I decided to keep my place settings really simple so as not to distract from the rest of the table.
I've gone for side plates on top of larger plates in complimentary colours to add some depth to each setting, adding a small off-cut from the berries, which I think ties the whole look together.
Finally, I've topped the look off with a really simple neutral linen napkin tied with a black ribbon, and gold cutlery.
Tips for creating a show-stopping table display
Choose a colour scheme - As I mentioned above, try to stick to two or three colours to achieve a simple, cohesive look. As you can see, I went for green, white and gold - stick to your chosen colours across all decorations to tie everything together
Add some sparkle - Because it's not Christmas without a bit of sparkle is it?! I did this through tea lights and the centre candlesticks
Place settings - Use items in your place settings that link to the main display to tie it all together - I've done this through the off-cuts of snowberries
Consider how the display will work during the meal - This garland takes up a large part of the table, so dependant on how many visitors you're hosting, you may need to remove before you eat.
And that's it! A really simple, easy to create display, which will look really effective in every home.
Is this something you'd like to recreate in your home?
Thanks for reading,
Sam Xx
*These photos were originally taken over 12 months ago for a sponsored post, however this post is not part of that and was not sponsored itself, I simply wanted to share the process as a DIY tutorial*


No comments
Post a Comment