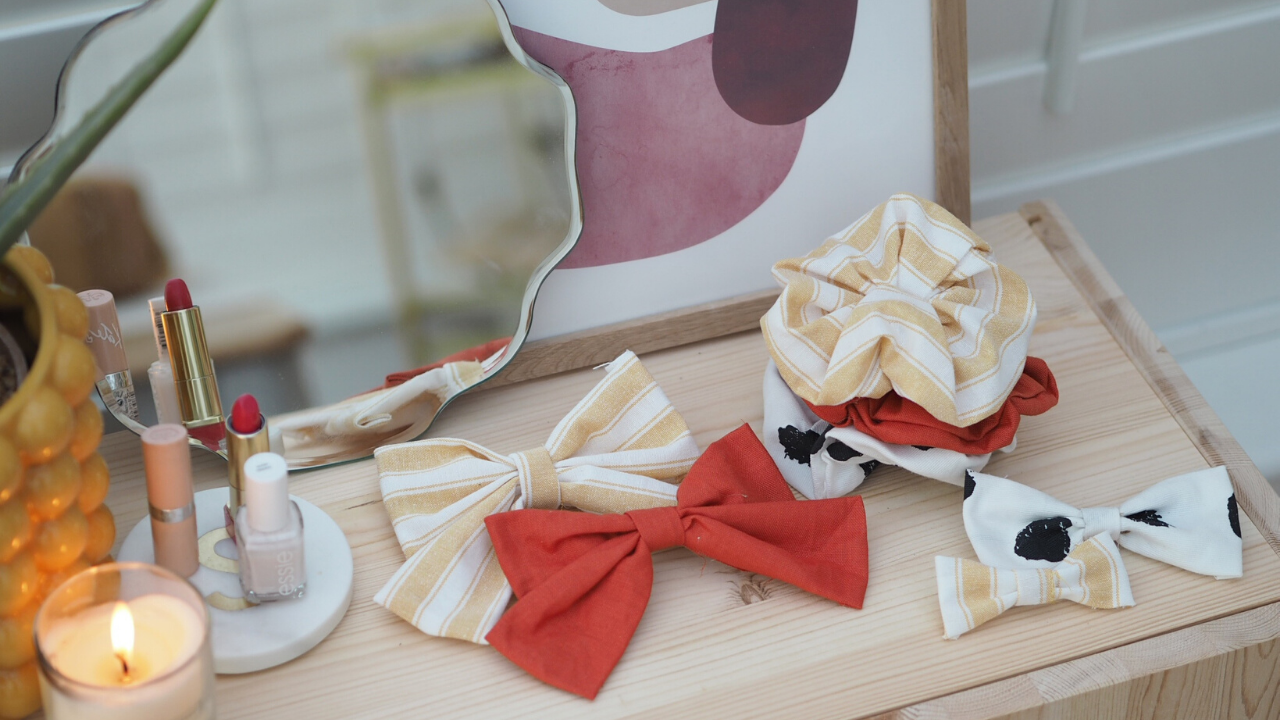
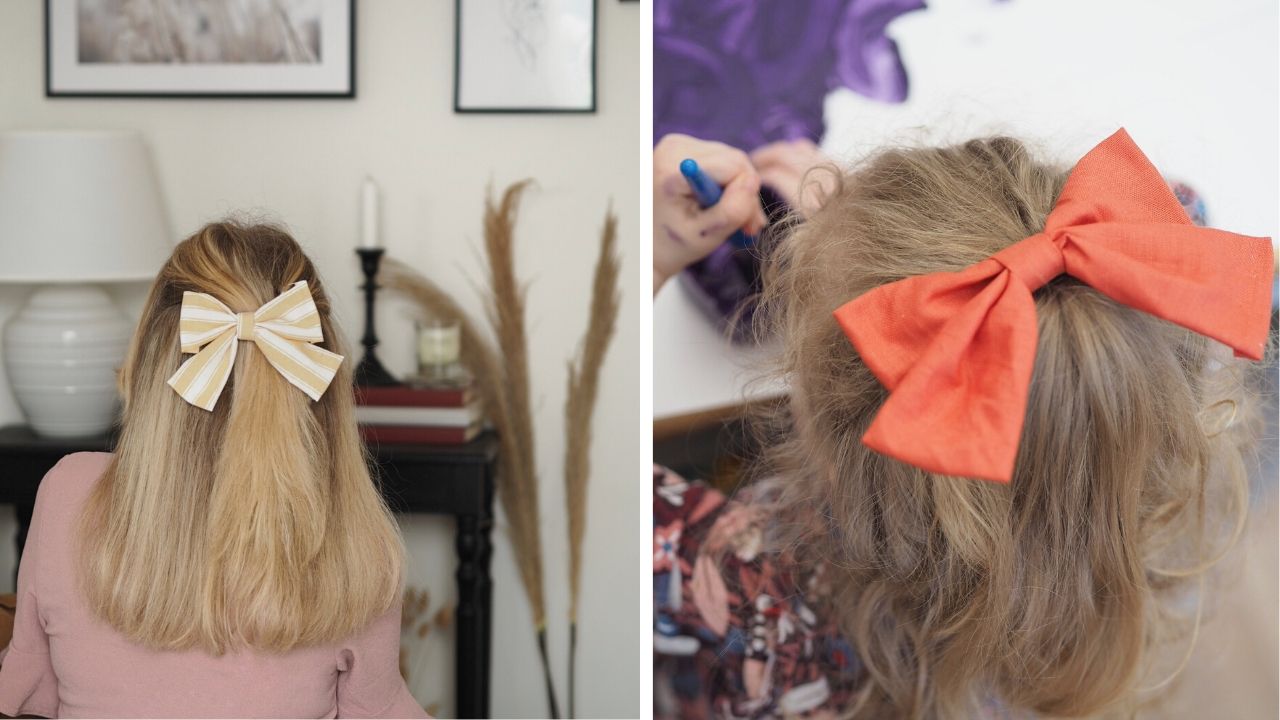
This week I'm having a go at something a little different - some hair accessories for me and my girl. I had my first go at making some bows for the last Weekend Mini-Make, so I thought I would use my new-found skills to create some hair clips. And they were so easy I decided to have a go at making some scrunchies too! All using leftover fabric of course, so this is another bargain craft.
You will need:
Fabric - I had all these pieces leftover from previous crafts, however you don't need much at all, so some fat quarters will do the trick
Elastic for the scrunchies - I bought one metre from eBay for £2.49. I've still got about half left too
Crocodile clips for the bows - I found this bargain pack of 50 on Amazon for £2.99 - and no, I definitely didn't need all of them
Embroidery thread
Glue gun
Scissors
Pencil
Tape measure
Total spend: £5.48
Scrunchies
We'll start with the scrunchies - you'll need to cut a long piece of fabric measuring 16cm x 50cm. Cut a piece of elastic around 5cm wider than the width of your wrist. For me, this was 18cm (yes, my wrists really are that scrawny!), and for my little girl this was 13cm long.
Lay the fabric right side up, and apply a thin line of glue running from top to bottom of your fabric. Then, being careful of the hot glue, stick the two long edges of fabric together, so you're left with a tube of fabric with the inside of the fabric facing outwards.
Once the glue has dried, turn the tube inside out, so you'll now have the nice side of your fabric facing outwards.
Insert your elastic into the tube, and holding the end tightly, push through until it pokes out the other end. This is a little tricky, and works best if you bunch up the fabric tightly as you go.
Tie both ends of the elastic together in a tight knot - I triple knotted mine to make sure it didn't come loose.
Finally, to finish up your scrunchie you need to glue the two open ends together. This is probably the trickiest bit of all, so be really careful with the hot glue. Take one of the open ends and fold the frayed edge under itself. Then push the other open end into it, so the scrunchie is now closed there are no frayed edges visible. Then apply a thin layer of glue all the way around one of the open ends and stick them together.
And you're all done! See, it wasn't that hard at all was it.
Bows
Now onto the bows. I've made a couple in different sizes and styles, so I've included a step-by-step for each style below:
Small Bow Clip
Smallest bow (yellow stripe in the above photo): One piece measuring 13cm x 7cm, and the other piece 5cm x 3cm
Medium sized bow (spot bow above): One piece measuring 16cm x 12cm, and the other piece 5cm x 3cm
The larger section will create the main part of the bow, and the smaller piece will wrap around it to finish it off.
Start with the larger section of fabric, and fold it over lengthways, with the nice side facing down. Apply a thin line of glue (1) and stick the two sides together, so you've now got a tube of fabric with either end open. Roll so the seam is now in the middle of the tube facing upwards (2)
Fold either end of the tube over, and glue down so you've got a piece of fabric sealed at all ends (3). Repeat the same process with the smaller piece of fabric. Taking the larger rectangle in your hand, pinch the middle to form a bow shape (4). Secure with a piece of embroidery thread simply by wrapping around to hold the bow shape in place (5). To finish off your bow, wrap the smaller tube around the centre, to hide the embroidery thread, securing with the glue gun (6).
Then simply attach the crocodile clip to the back of the bow using the glue gun, and you're all done.
Large bow clip
To make the larger bow clip, you'll need to cut three pieces of fabric of the following measurements:
17cm x 12cm - for the top half of the bow
18cm x 20cm - for the bottom half of the bow
5cm x 6cm - for the centre wrap-around part of the bow
Follow exactly the same method as above, however after step 5 you'll need to attach the bottom half of the bow. To do this, glue the piece of fabric together in the same way as above, to create a tube sealed at all edges. Once you've secured the top half of the bow using embroidery thread, pinch the bottom half in the middle, and place together with the top half. Wrap the smaller tube of fabric around both halves, and secure using the glue. Finally, attach a crocodile clip and you're all done.
Hope you enjoyed this quick and simple project - let me know if you make one, I'd love to see! Are fashion/accessories DIYs something you'd like to see more of on the blog?
I'll be back next week with another quick relaxing, craft perfect for completing over the weekend.
Thanks for reading,
Sam Xx


No comments
Post a Comment