You will need:
A long stick - I found this one in my back garden, just make sure it feels fairly strong
Envelopes - These are coin envelopes
String
Dried orange slices
Rosemary
Bells
Small treats to pop inside the envelopes
Stapler
Marker pen
Total cost: This cost me a grand total of £0 as I had everything lying around at home
How to make:
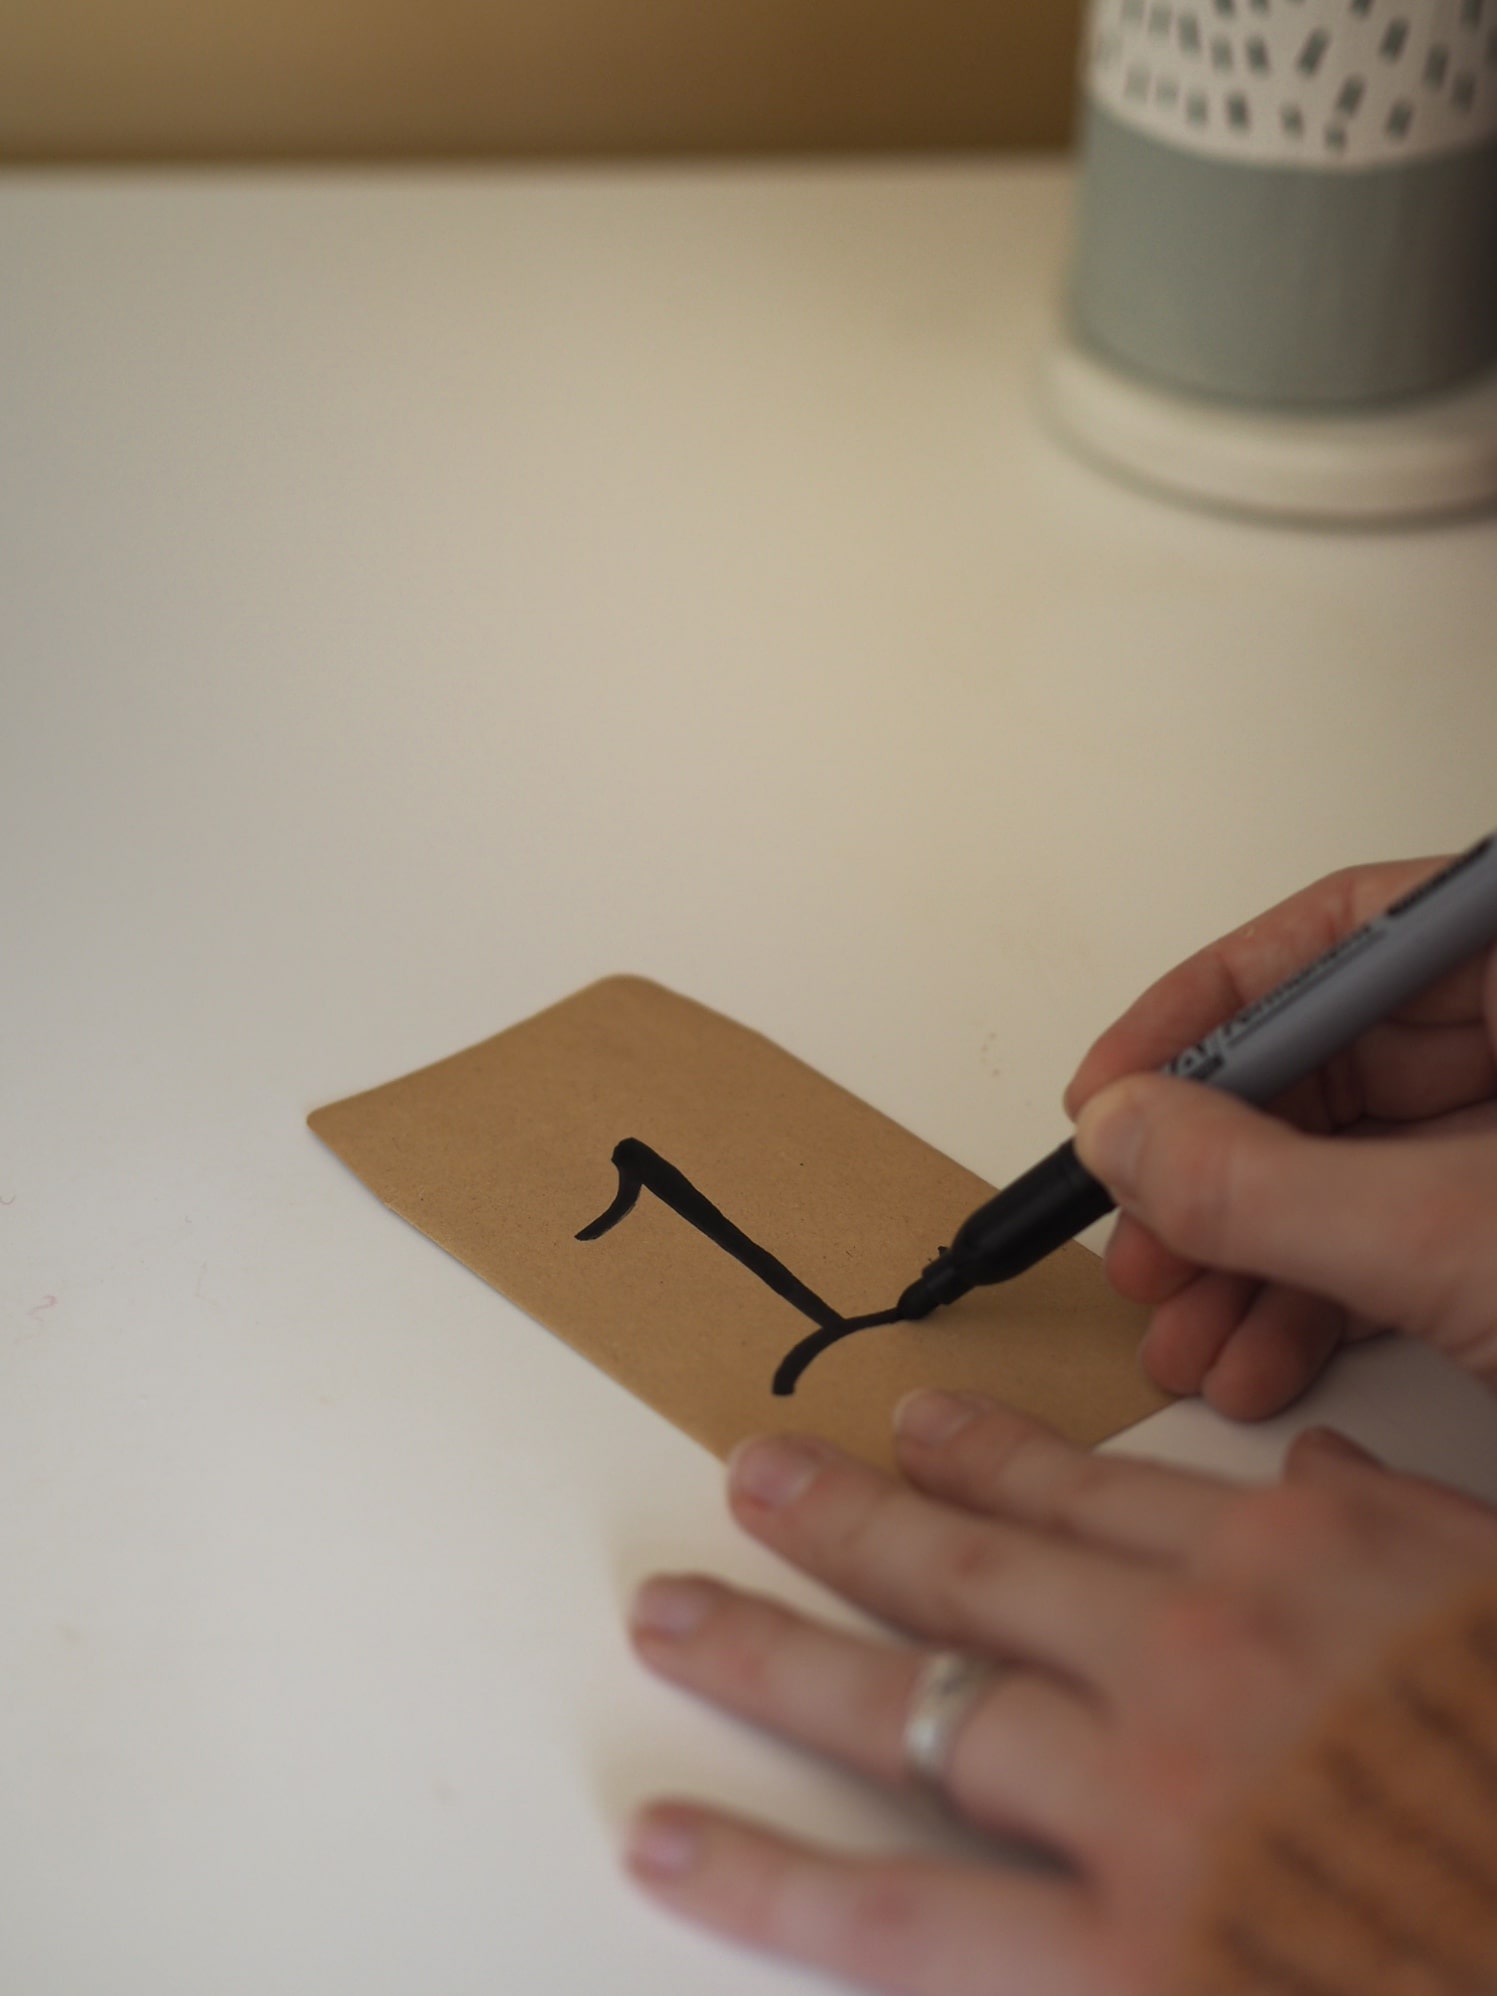
Start by writing the numbers 1-24 on your envelopes, and cut a small hole in the top of each envelope - if you have a hole punch this would be the best way to make the hole. I don't have one though so just used some simple scissors.
Poke a length of string or ribbon through the envelope from front to back, so the end is hidden at the back of the envelope, and tie a knot to secure.
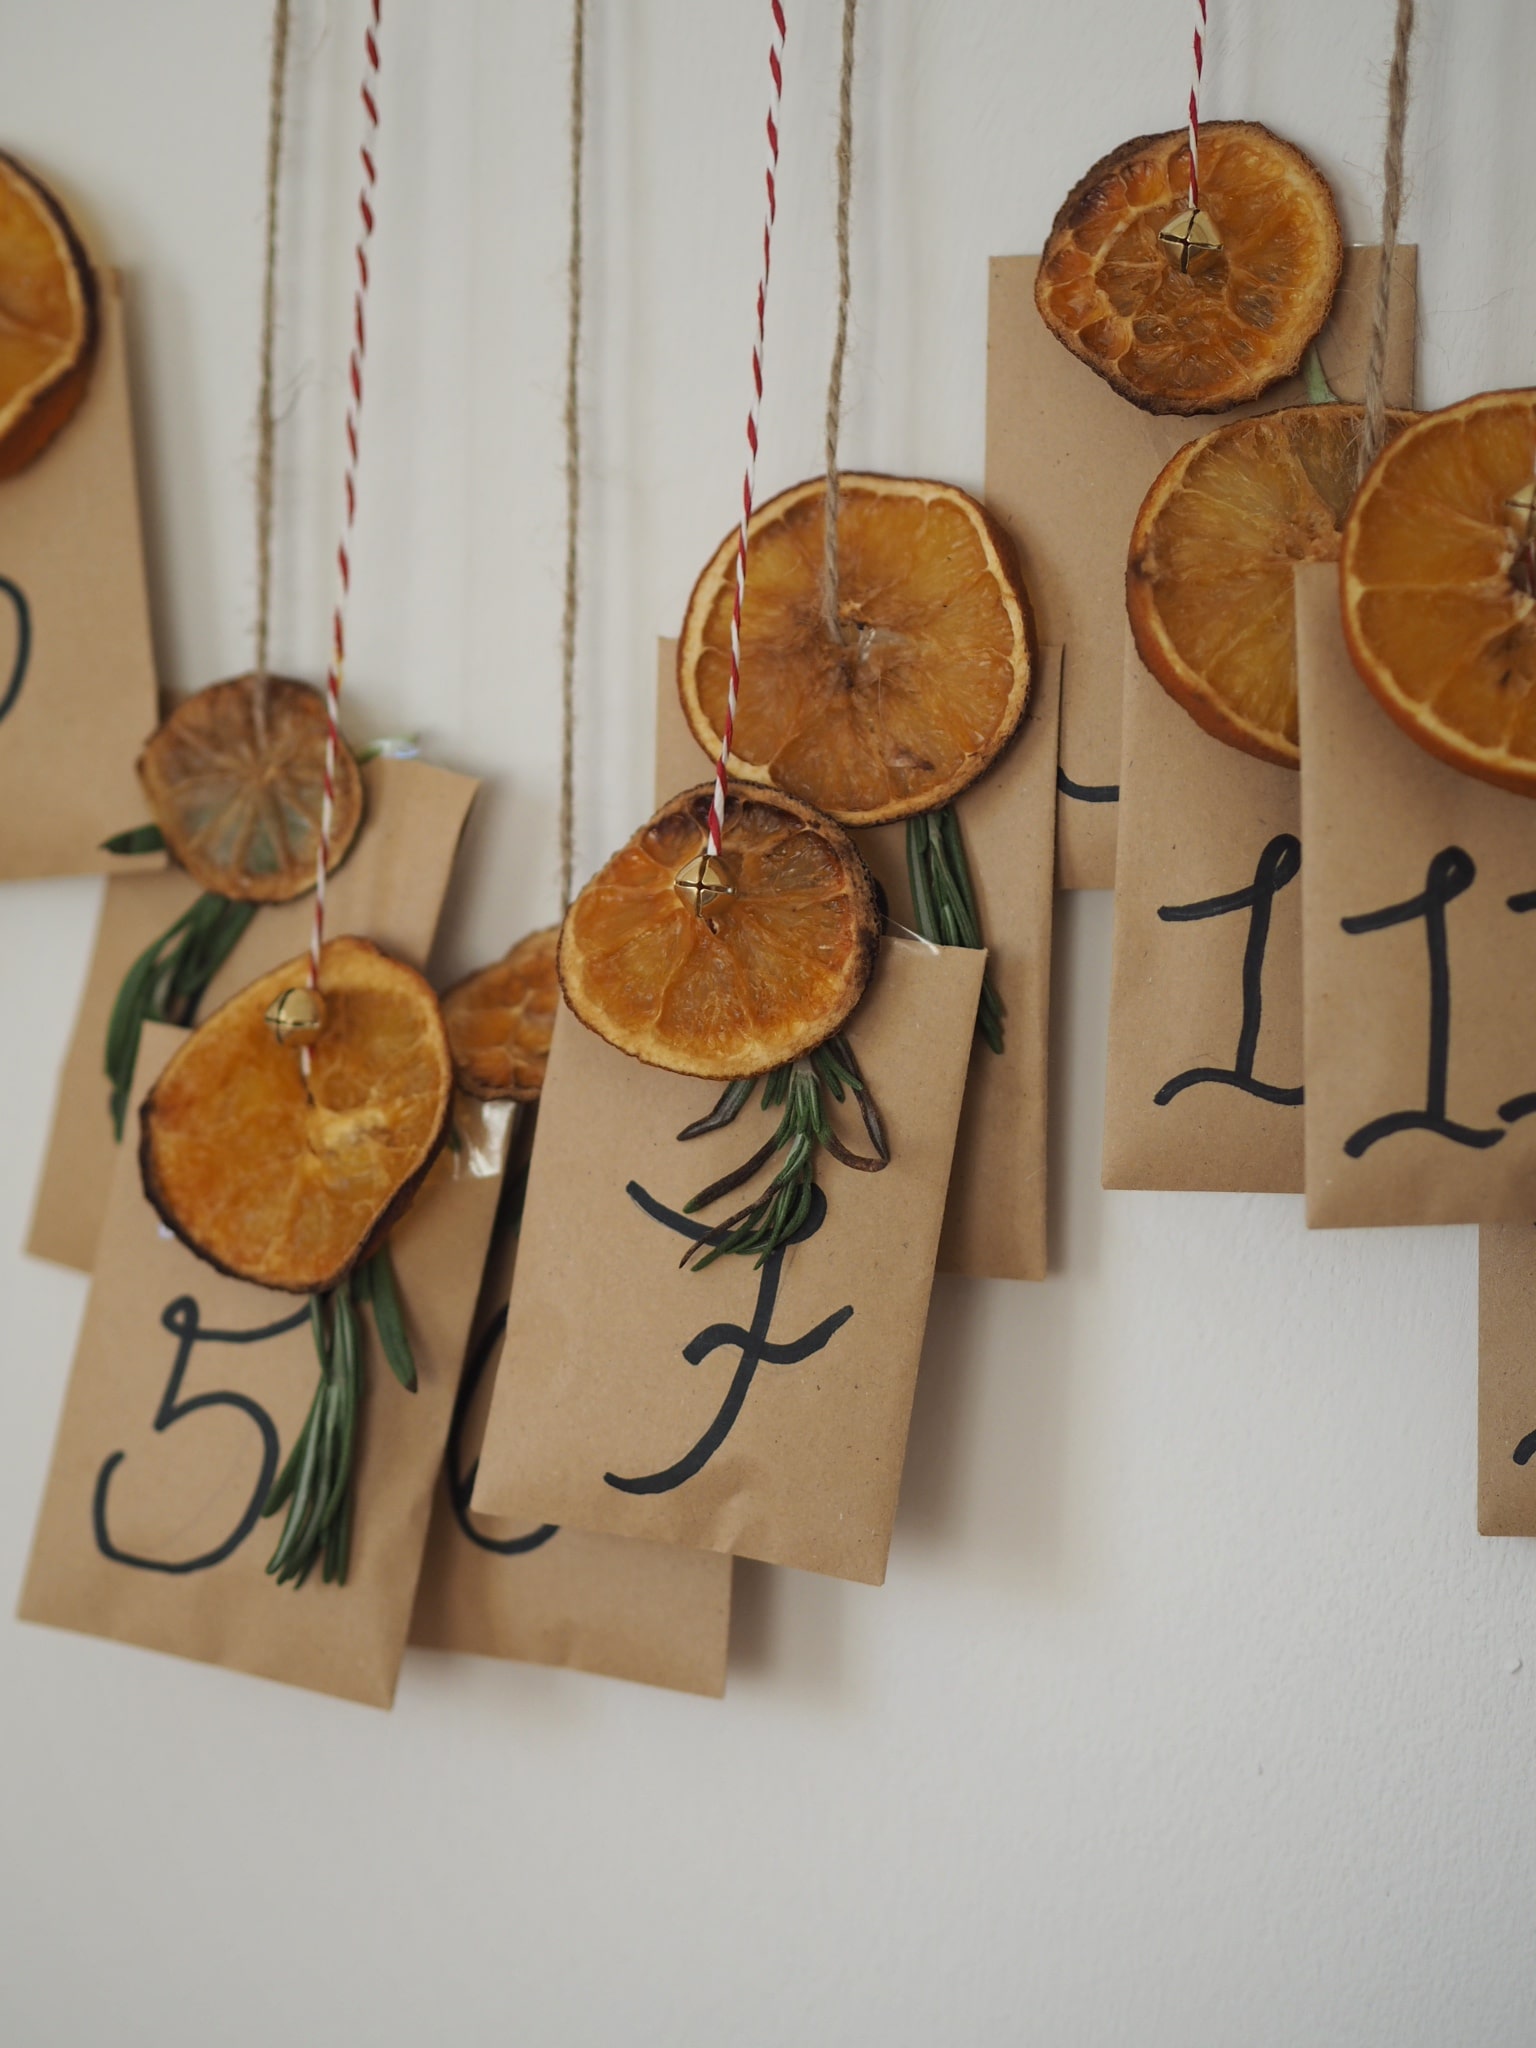
Now to add some festive decorations to your envelopes. You can literally go with anything here - think some Christmas foliage, berries or bows - most things will work! I've gone with my favourite - dried orange slices, which are not only so easy to make (you can find out exactly how to dry them here), but they also smell amazing! I've also added a little sprig of fresh rosemary for some colour, and a little gold bell on every other envelope.
Thread an orange slice onto the string, and add a small bell on top of the slice. Staple, or sellotape a small piece of rosemary to the front of the envelope so it is sitting underneath the orange.
Then pop a small treat or sweet inside each envelope - I've gone with Christmassy chocolates.
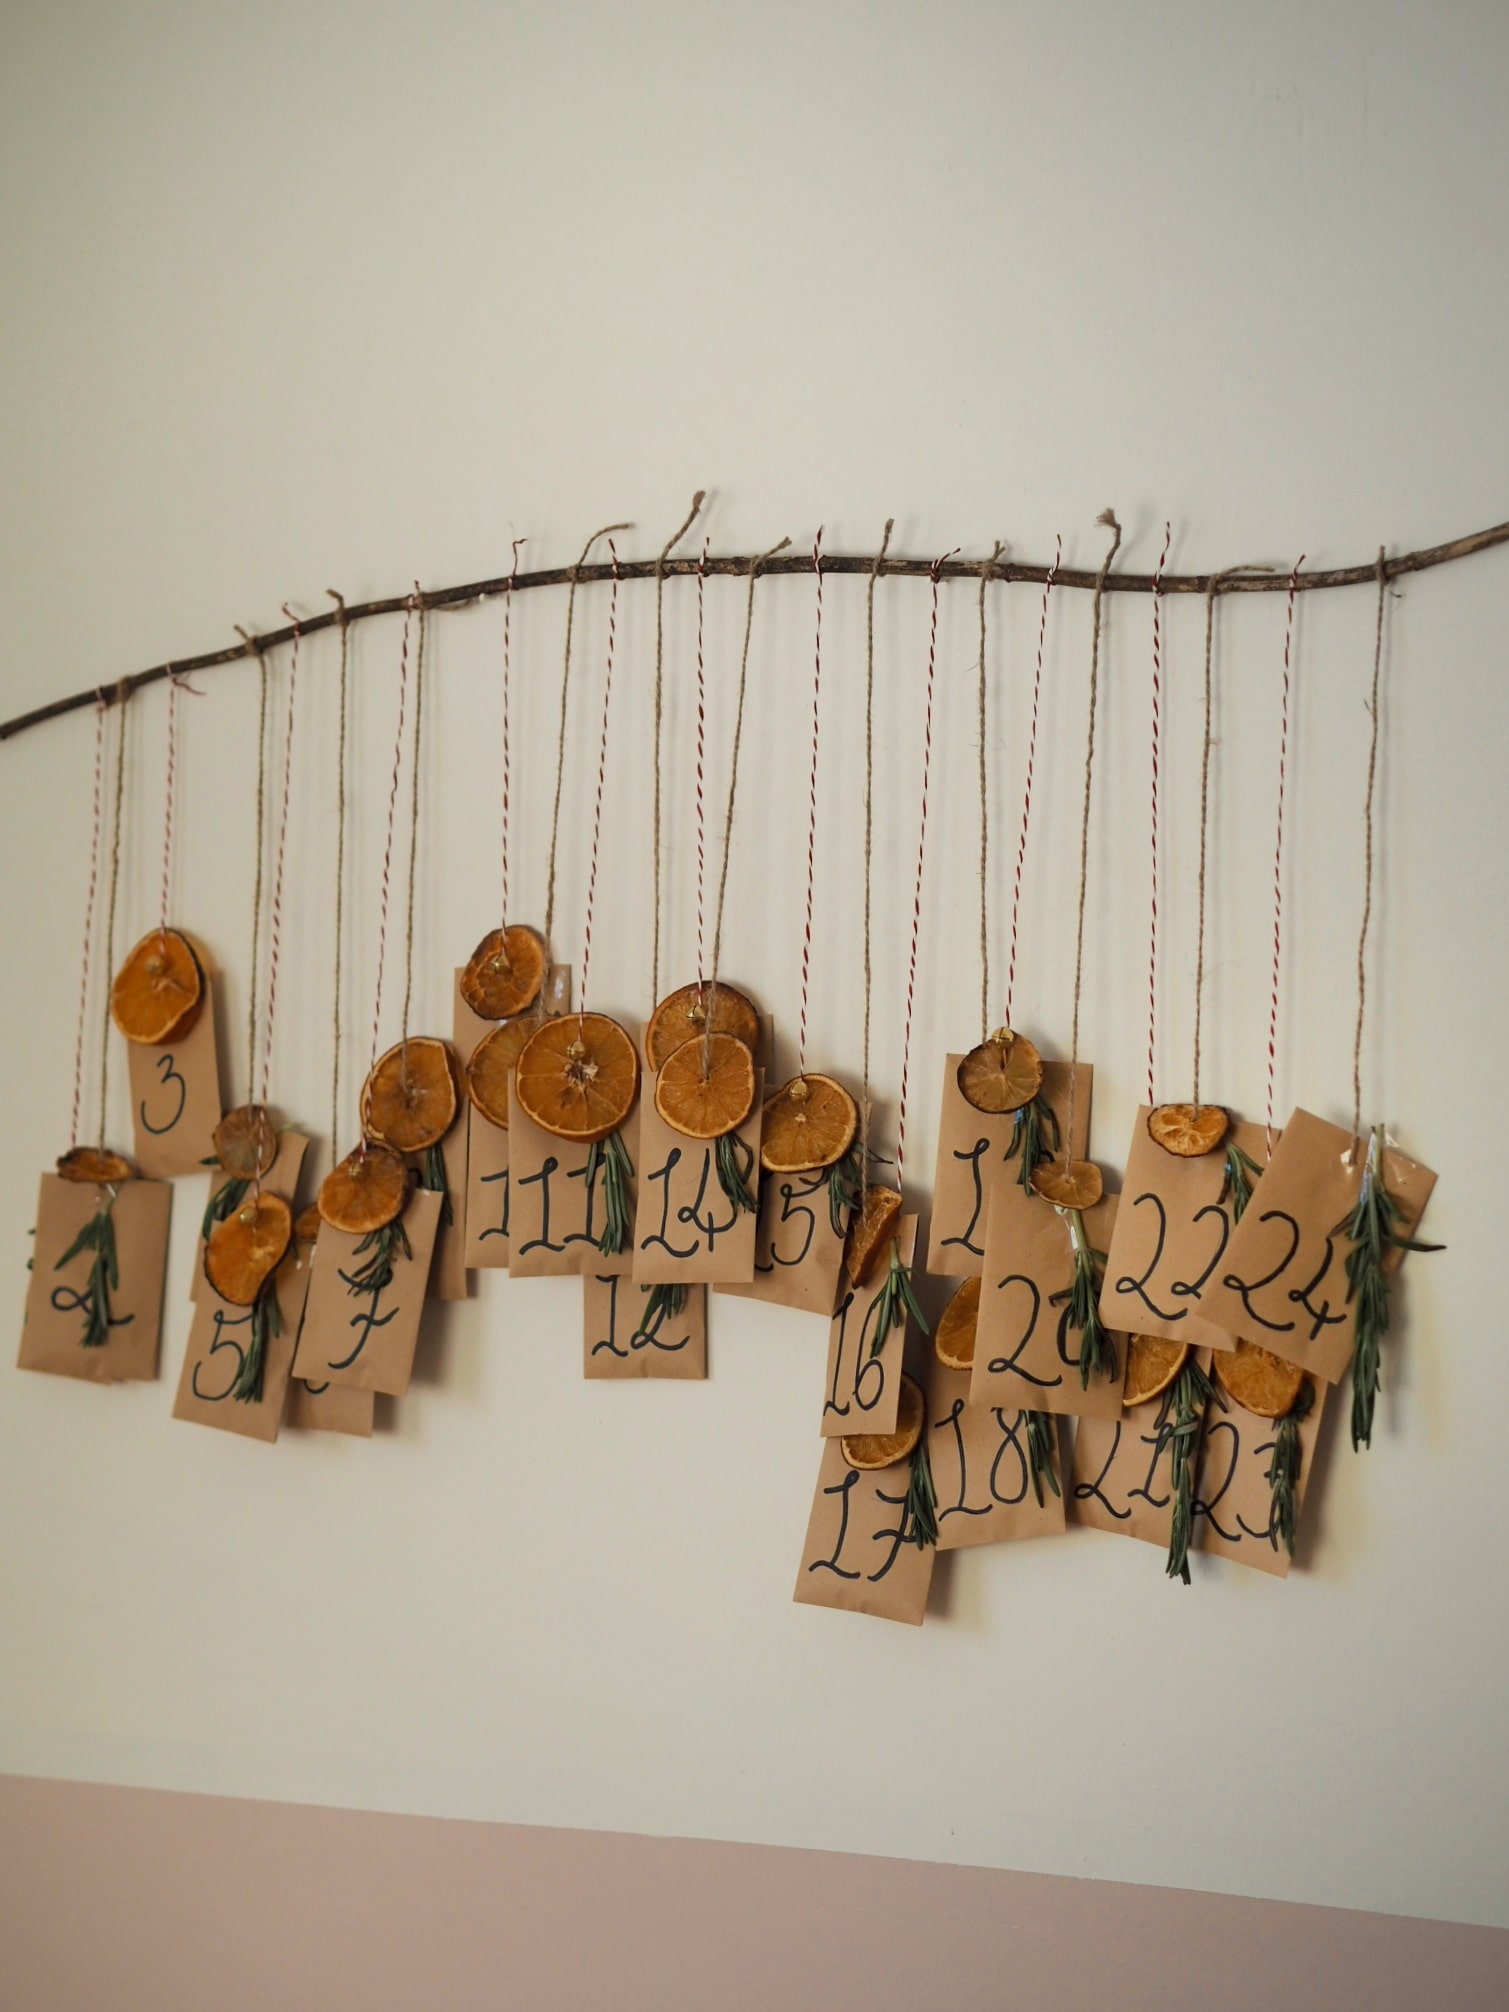
Now tie each each envelope onto the stick, securing with a double knot. I found it was easier to do this with the stick in situ, so fixed it to the wall with some simple nails, and then attached each in turn. Vary the lengths of each piece of string to give some interest, and try to keep each one at a similar distance to the next. Finally trim the ends of the string so they're all the same length.
And you're all done! How simple was that - and a really effective-looking decoration too! The good thing about this is you'll be able to reuse year after year too - you might want to replace the rosemary and/or orange slices next year.
Hope you enjoyed this quick and simple Christmas DIY - let me know if you make one, I'd love to see! And I'll be back tomorrow with another quick Christmas craft perfect for updating your decor on a budget.
Thanks for reading,
Sam Xx


No comments
Post a Comment