I’ve seen lots of beautiful wall hangings online, however most are quite pricey so had to have a go at making one myself. I actually made a similar wall hanging a couple of years ago for my work from home office, however wanted to update it for this little room. I’ve used a table runner - the important bit being here that you use a really thick material to make sure it hangs correctly on the wall. This time though, I’ve used a different technique to add some stitching, so I thought it would be helpful to put together an updated tutorial.
You will need:
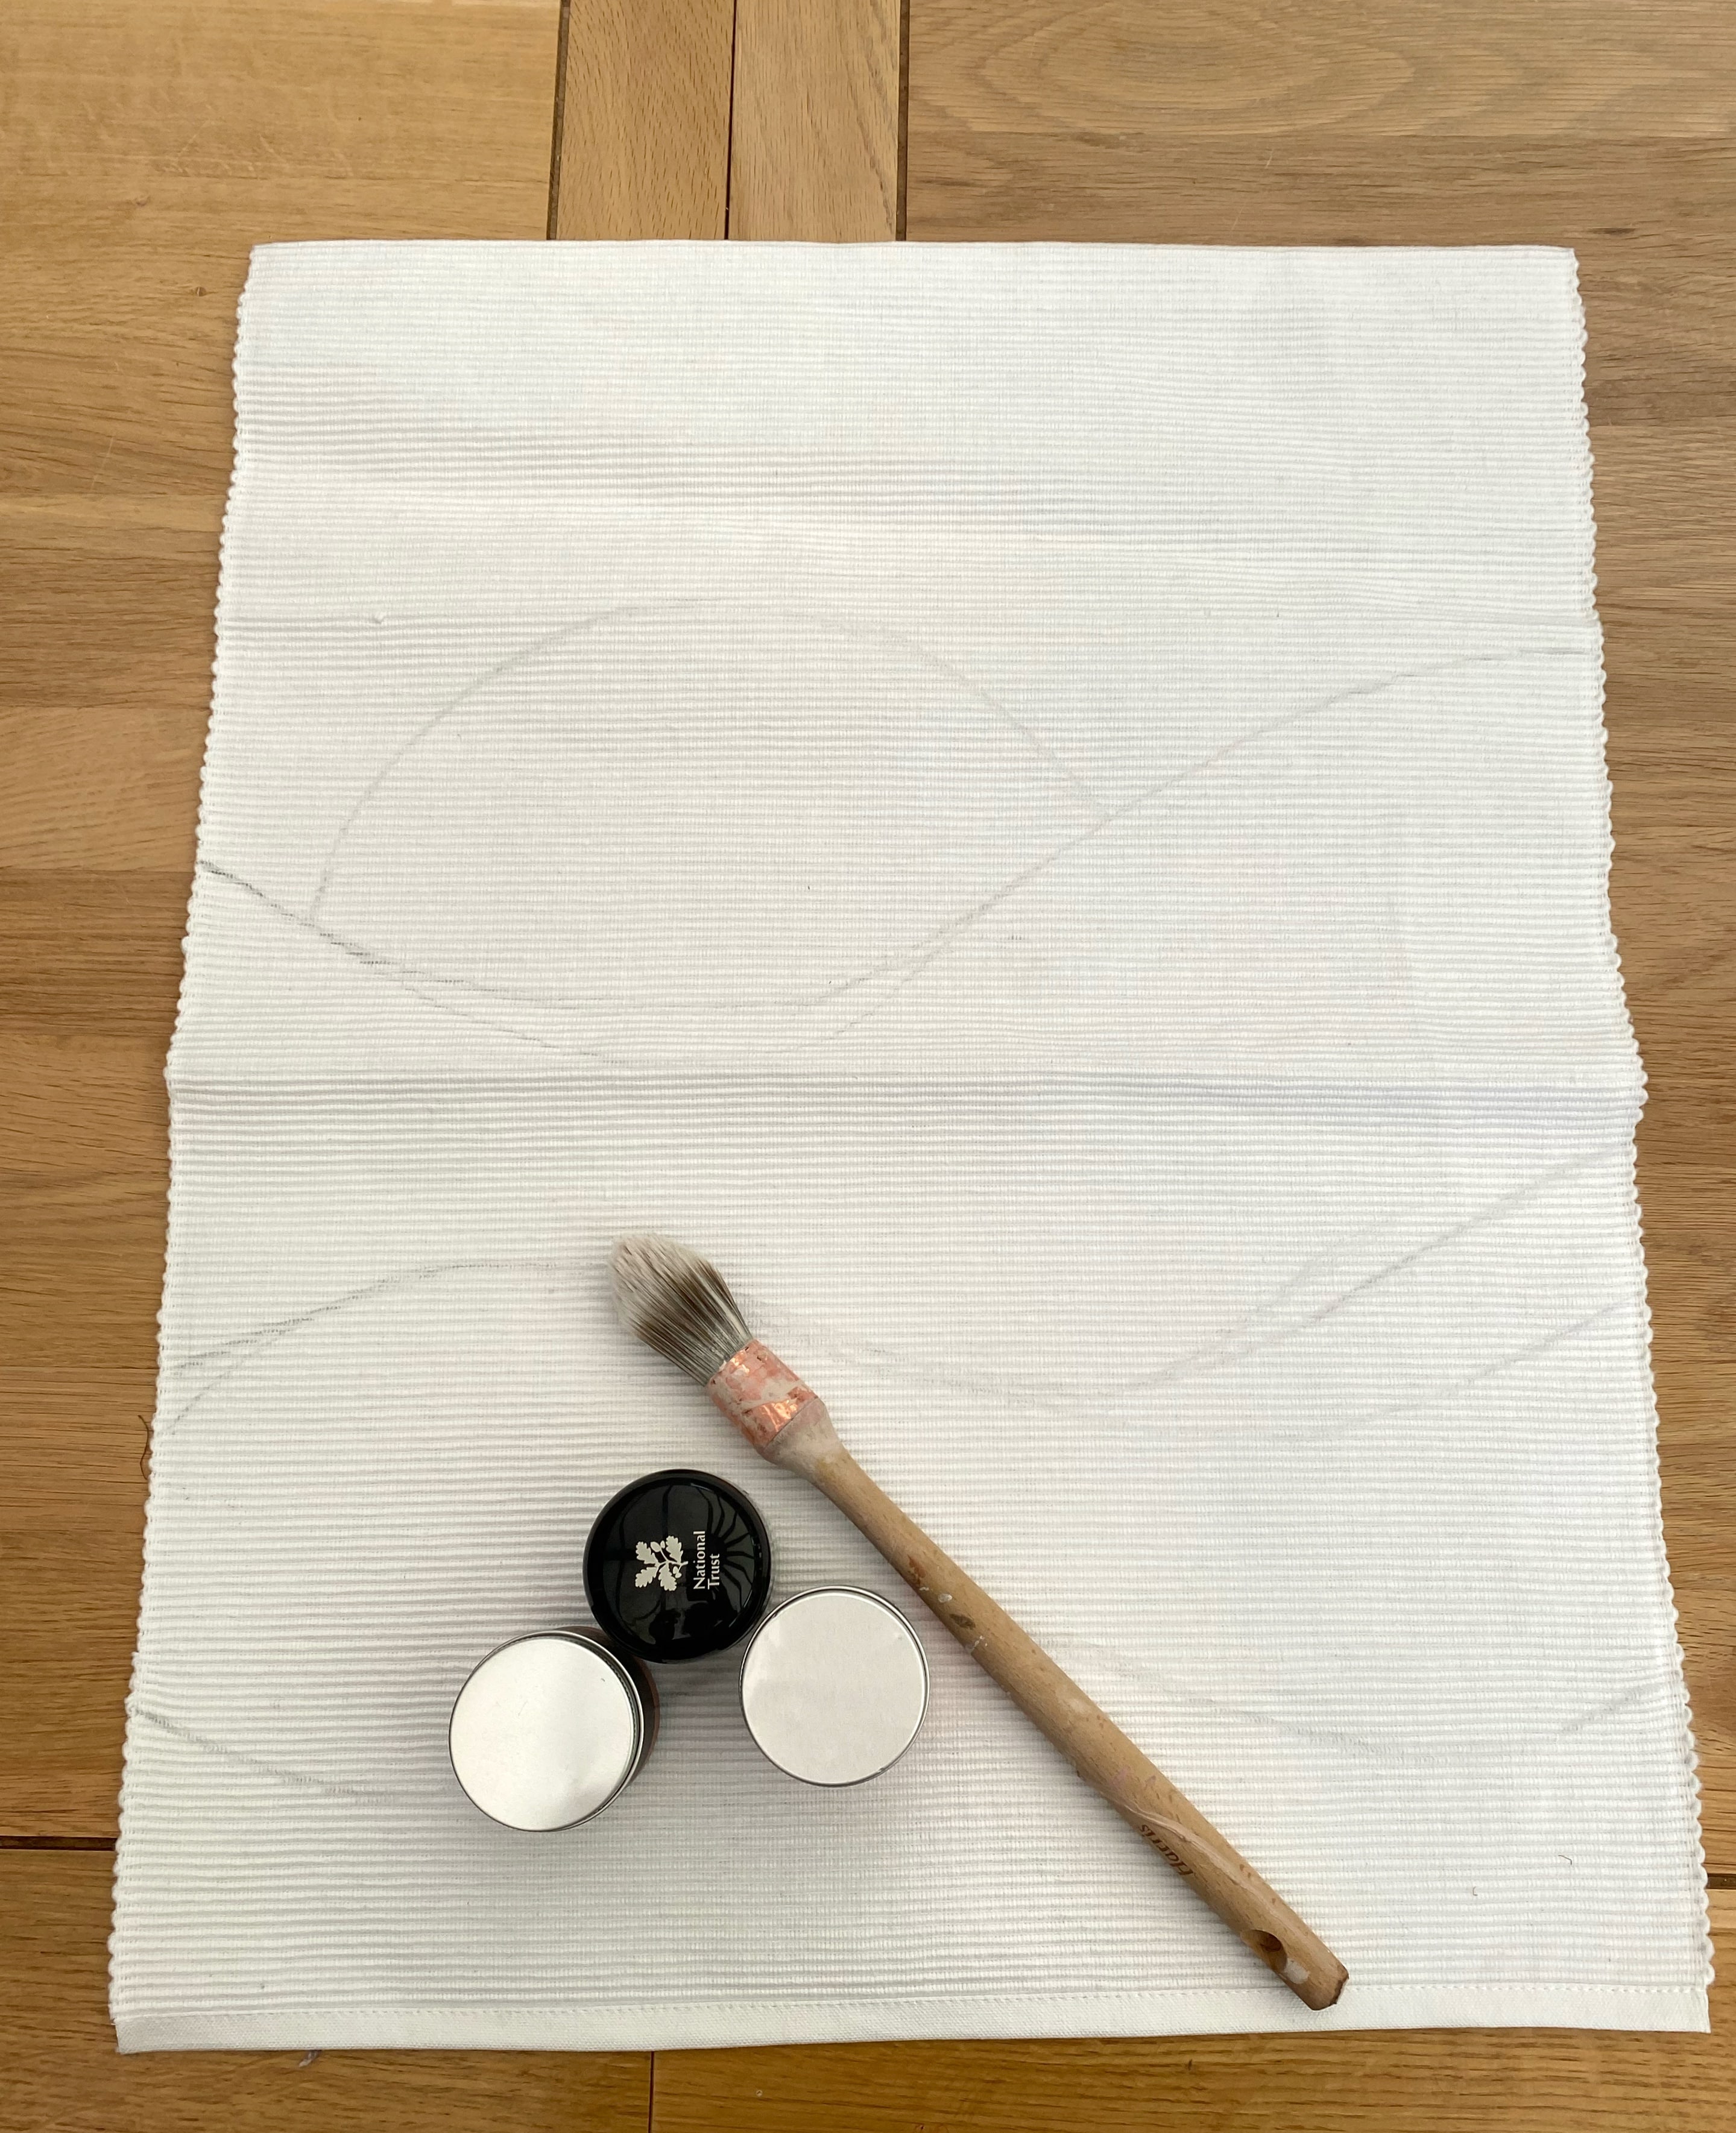
Table runner (or similar thick, flat material) - I found this on Amazon, but IKEA do similar runners for only a few pounds
Wooden dowel
Paint - A tester pot will be more than enough
Wool for tassels
Small paintbrush
Pencil
Needle with large enough eye to fit wool - I use a strong needle made for making teddy bears as I find its perfect for projects like this
How to make the wall hanging
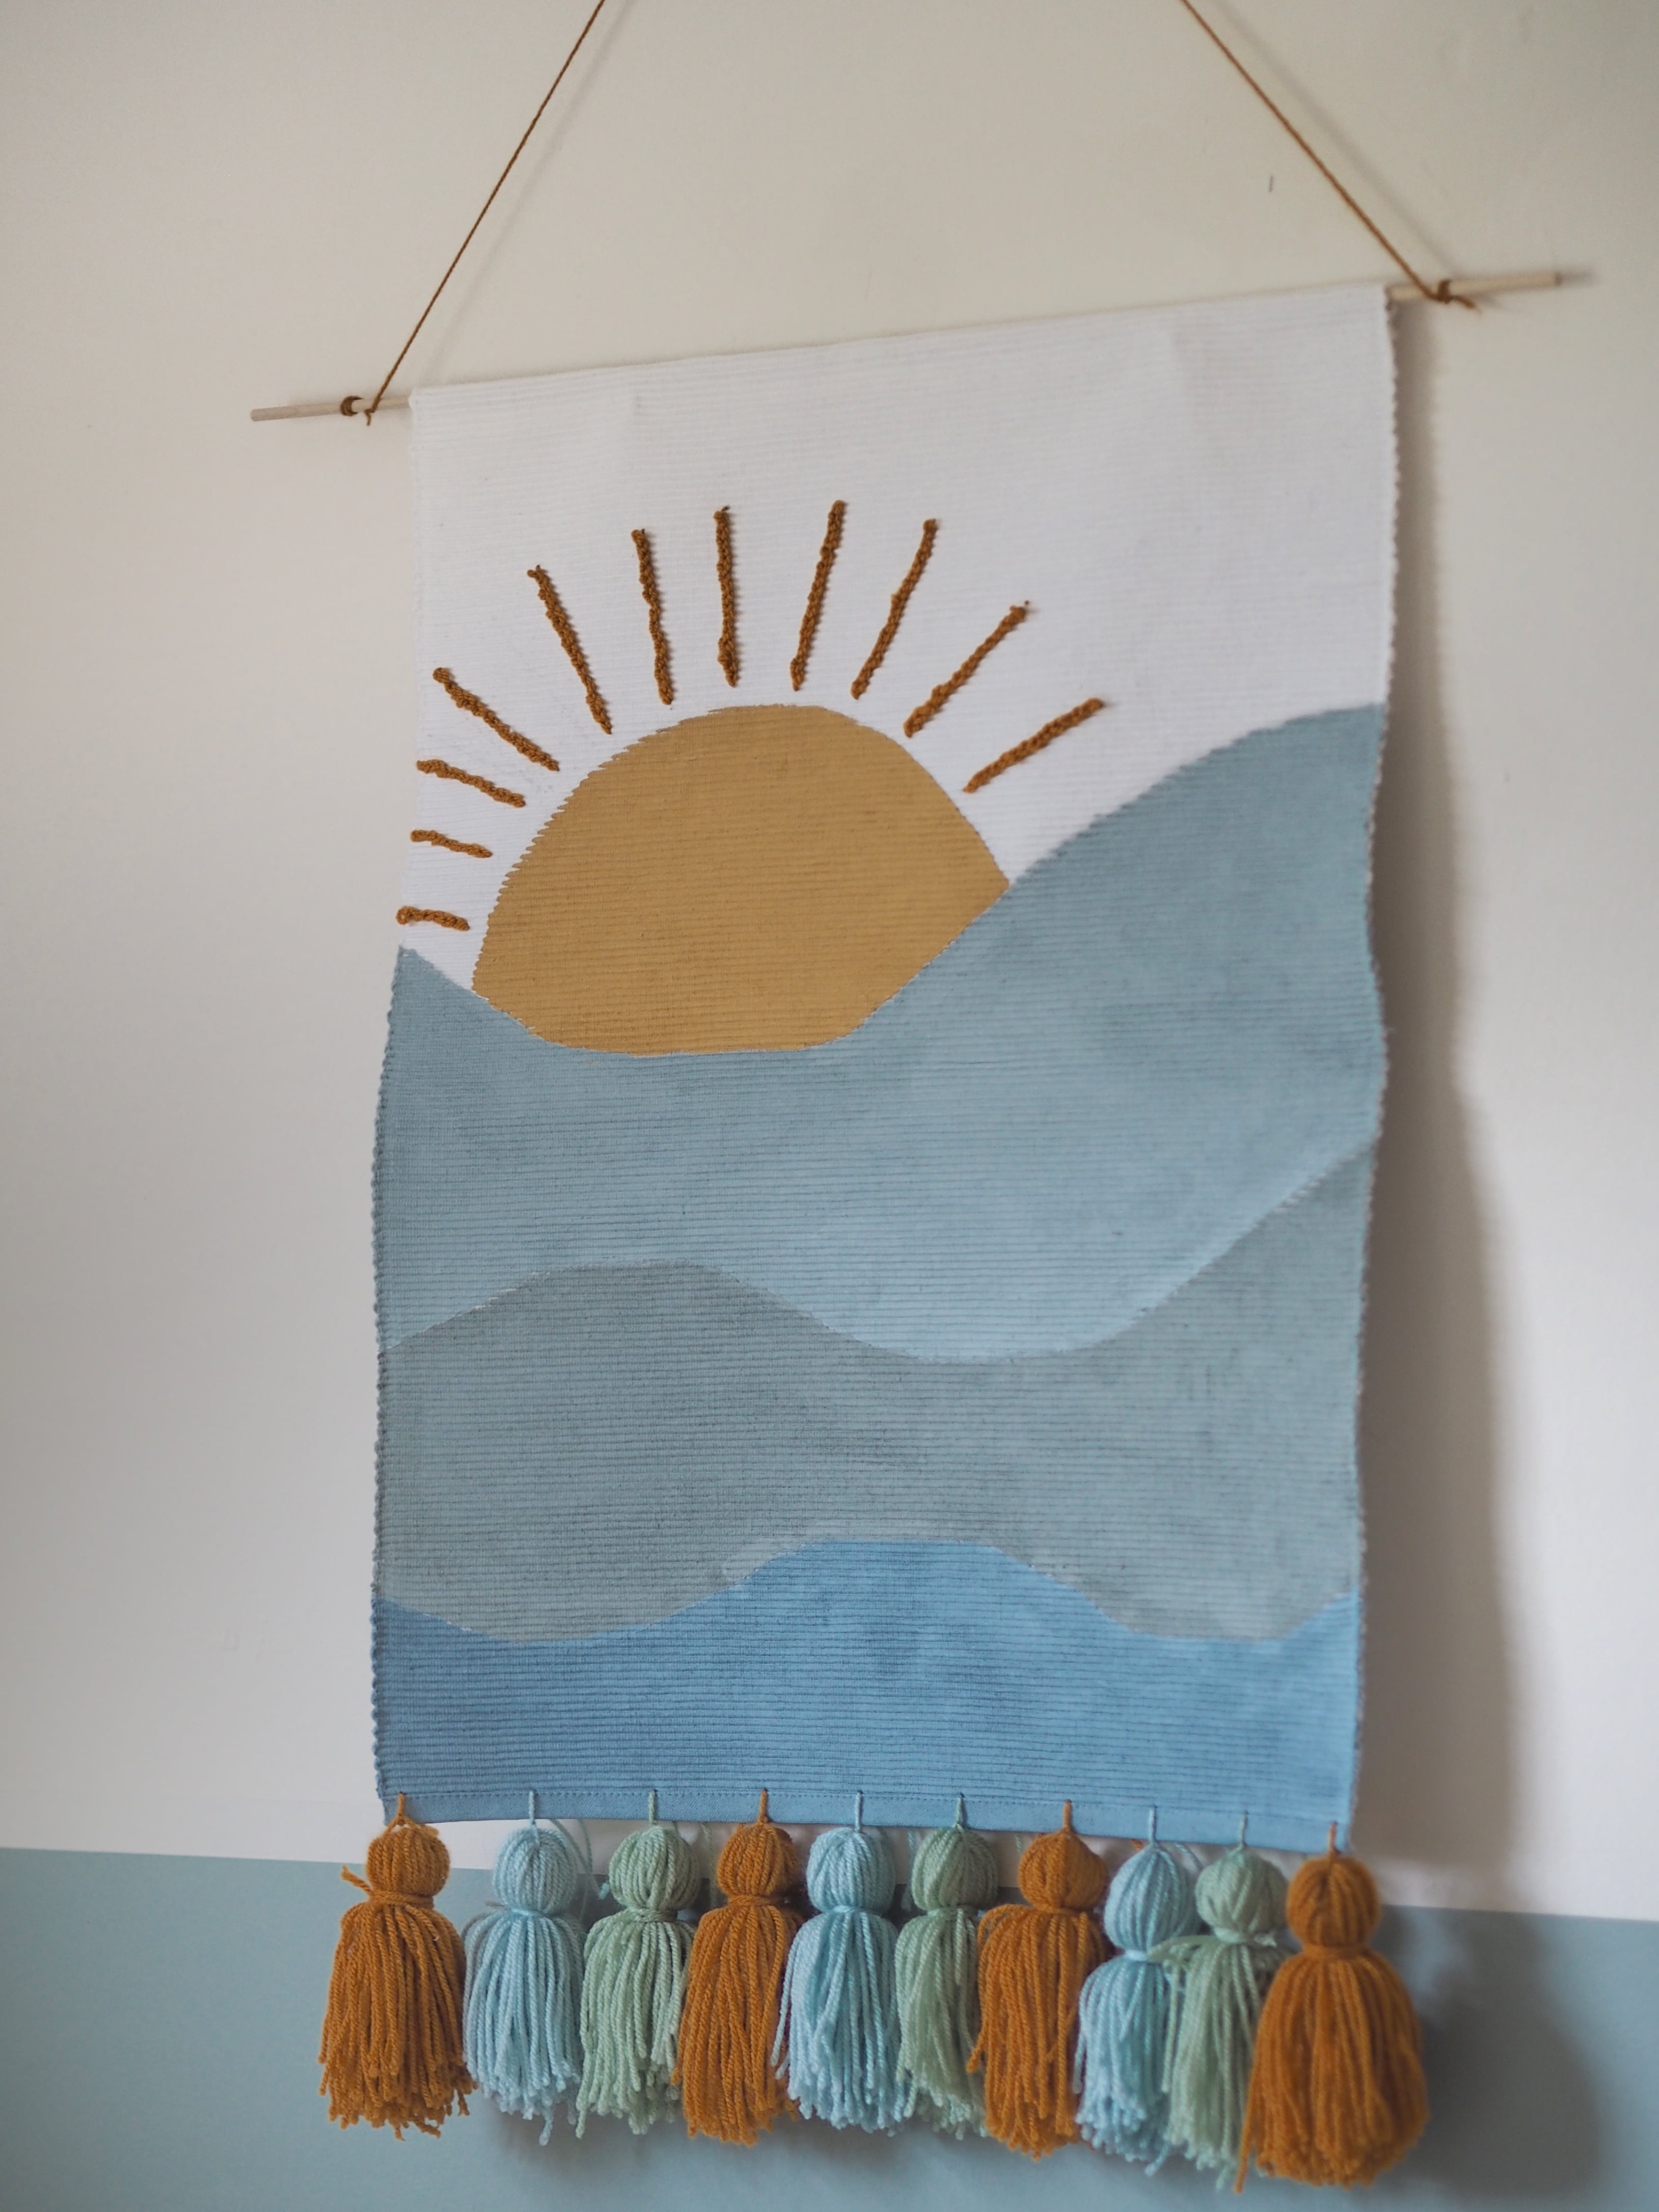
Start by thinking about the design you want on your hanging - I wanted to tie in with the room's ocean theme so have gone with waves painted in a simple ombré pattern, and a setting sun.
When hunting down the perfect material for your hanging, look for something thick and flat, as you won’t be able to paint on anything too fluffy or soft. If you’re a beginner to sewing it’s also a good idea to go with a pre-made item rather than a simple piece of fabric. I’ve chosen a table runner, but have previously used a bath mat, and even a tea towel would work. By using something like this, the edges are already hemmed for you, so there’s no need to do it yourself.
I cut the table runner down to 60 by 45cm, which is the perfect fit for the blank space. I then folded over the top of the fabric by 5cm in order to create a small opening for which to slide the wooden dowel in.
Tip: Make sure your opening is on the un-hemmed end of the fabric - that way you won’t have to worry about any hemming at all.
Tip: Make sure your opening is on the un-hemmed end of the fabric - that way you won’t have to worry about any hemming at all.
Start by sketching out your design on paper, and when you're happy lightly sketch onto the fabric with pencil. Take your time with this, as dependant on your material, pencil isn’t the easiest to rub out should you make a mistake.
Then slide your wooden dowel through the gap so it pokes out either side. My dowel is 60cm long, however if you can only find shorter dowels then you could use two side by side.
Now for the fun bit: painting on your design! I used simple tester pots of regular emulsion, as this meant there was more colour choice available, but fabric paint would work well too. I painted waves using three tester pots in different shades of blue to create an ombré look. I then added a sunset using a beautiful mustard yellow. Take your time here, as you want to make sure you've worked the paint fully into the material.
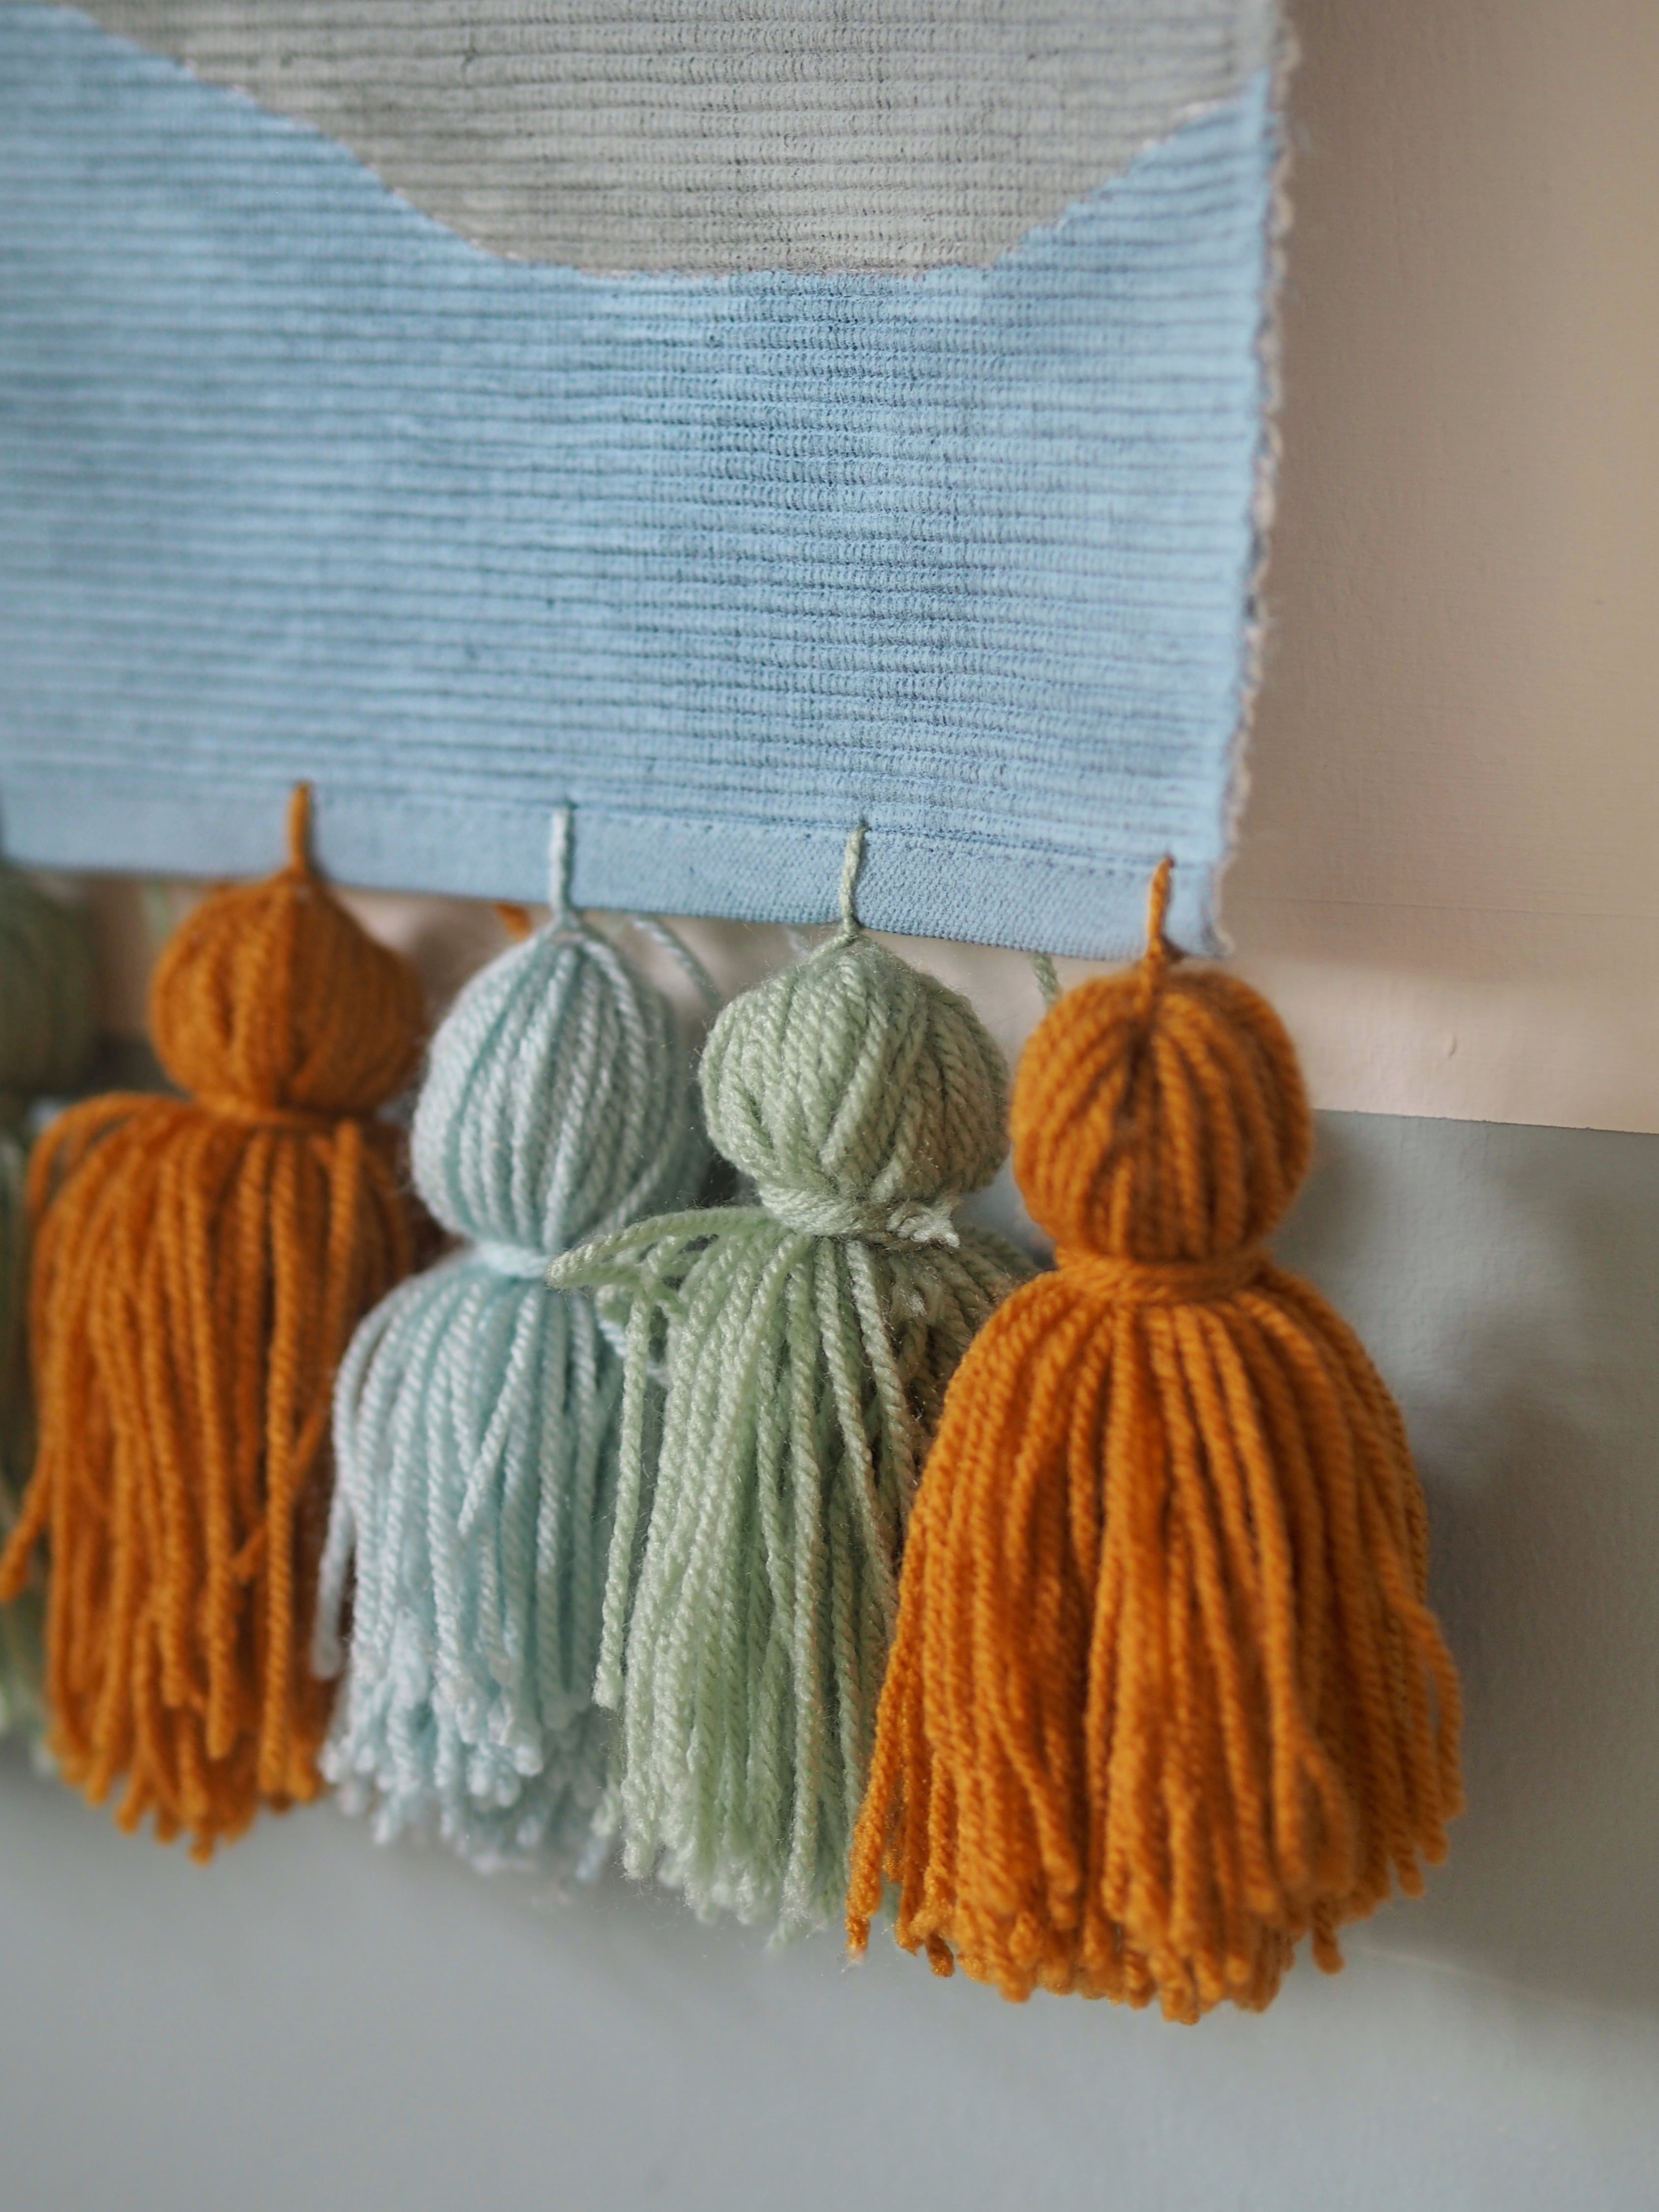
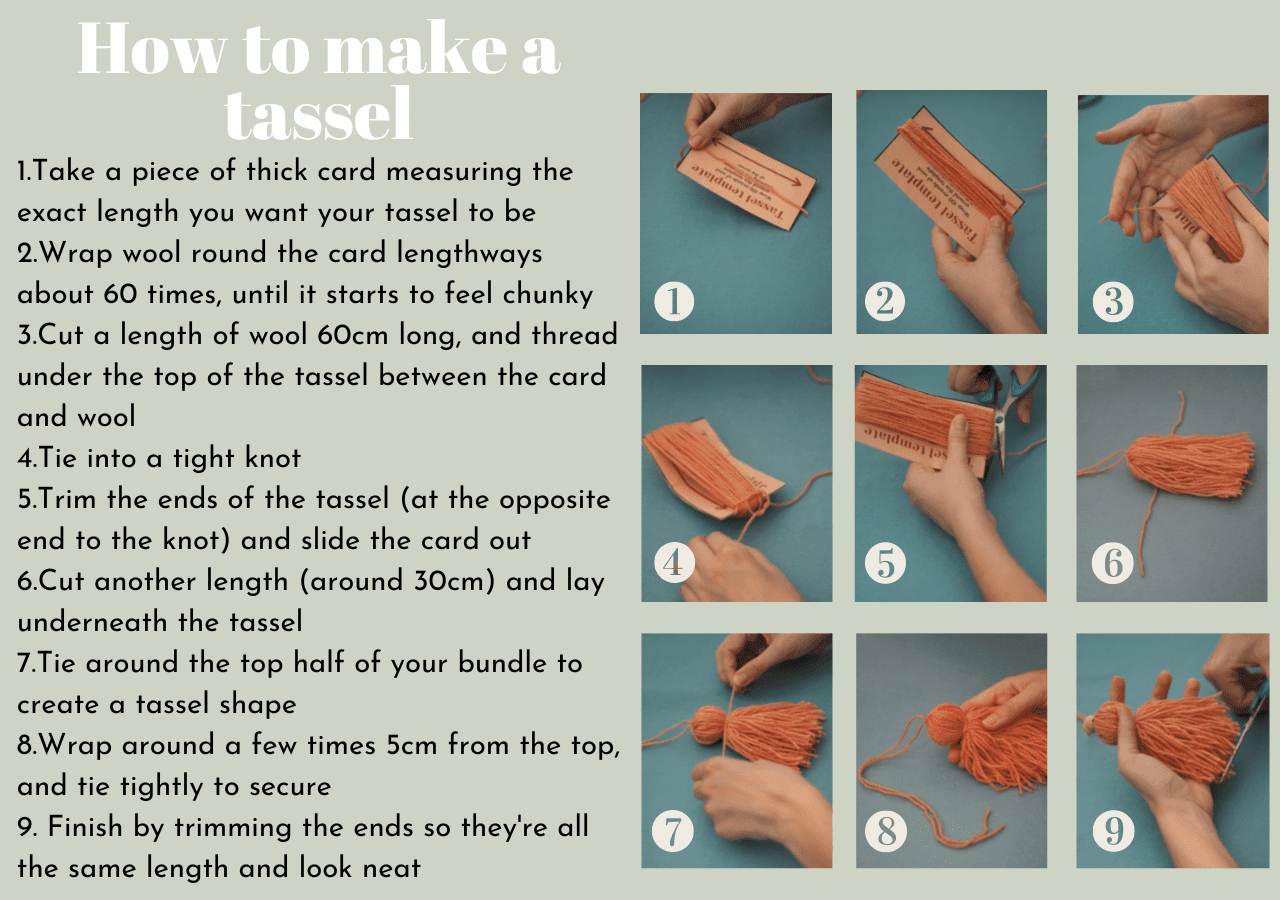
While the paint is drying make some tassels for along the bottom using wool. I’ve made 10 tassels in three different shades - a baby blue, aqua green and mustard yellow. These are so much easier to make than you might think, and take no time at all.
I then attached each tassel to the fabric using a strong needle with an eye large enough to fit a strand of wool. Poke the needle through the bottom of the wall hanging, and tie the ends at the back.
Next I wanted to add some further interest to the hanging, so have added some rays to the sunshine using more mustard coloured wool and a simple chain stitch, for which you can find lots of tutorials online.
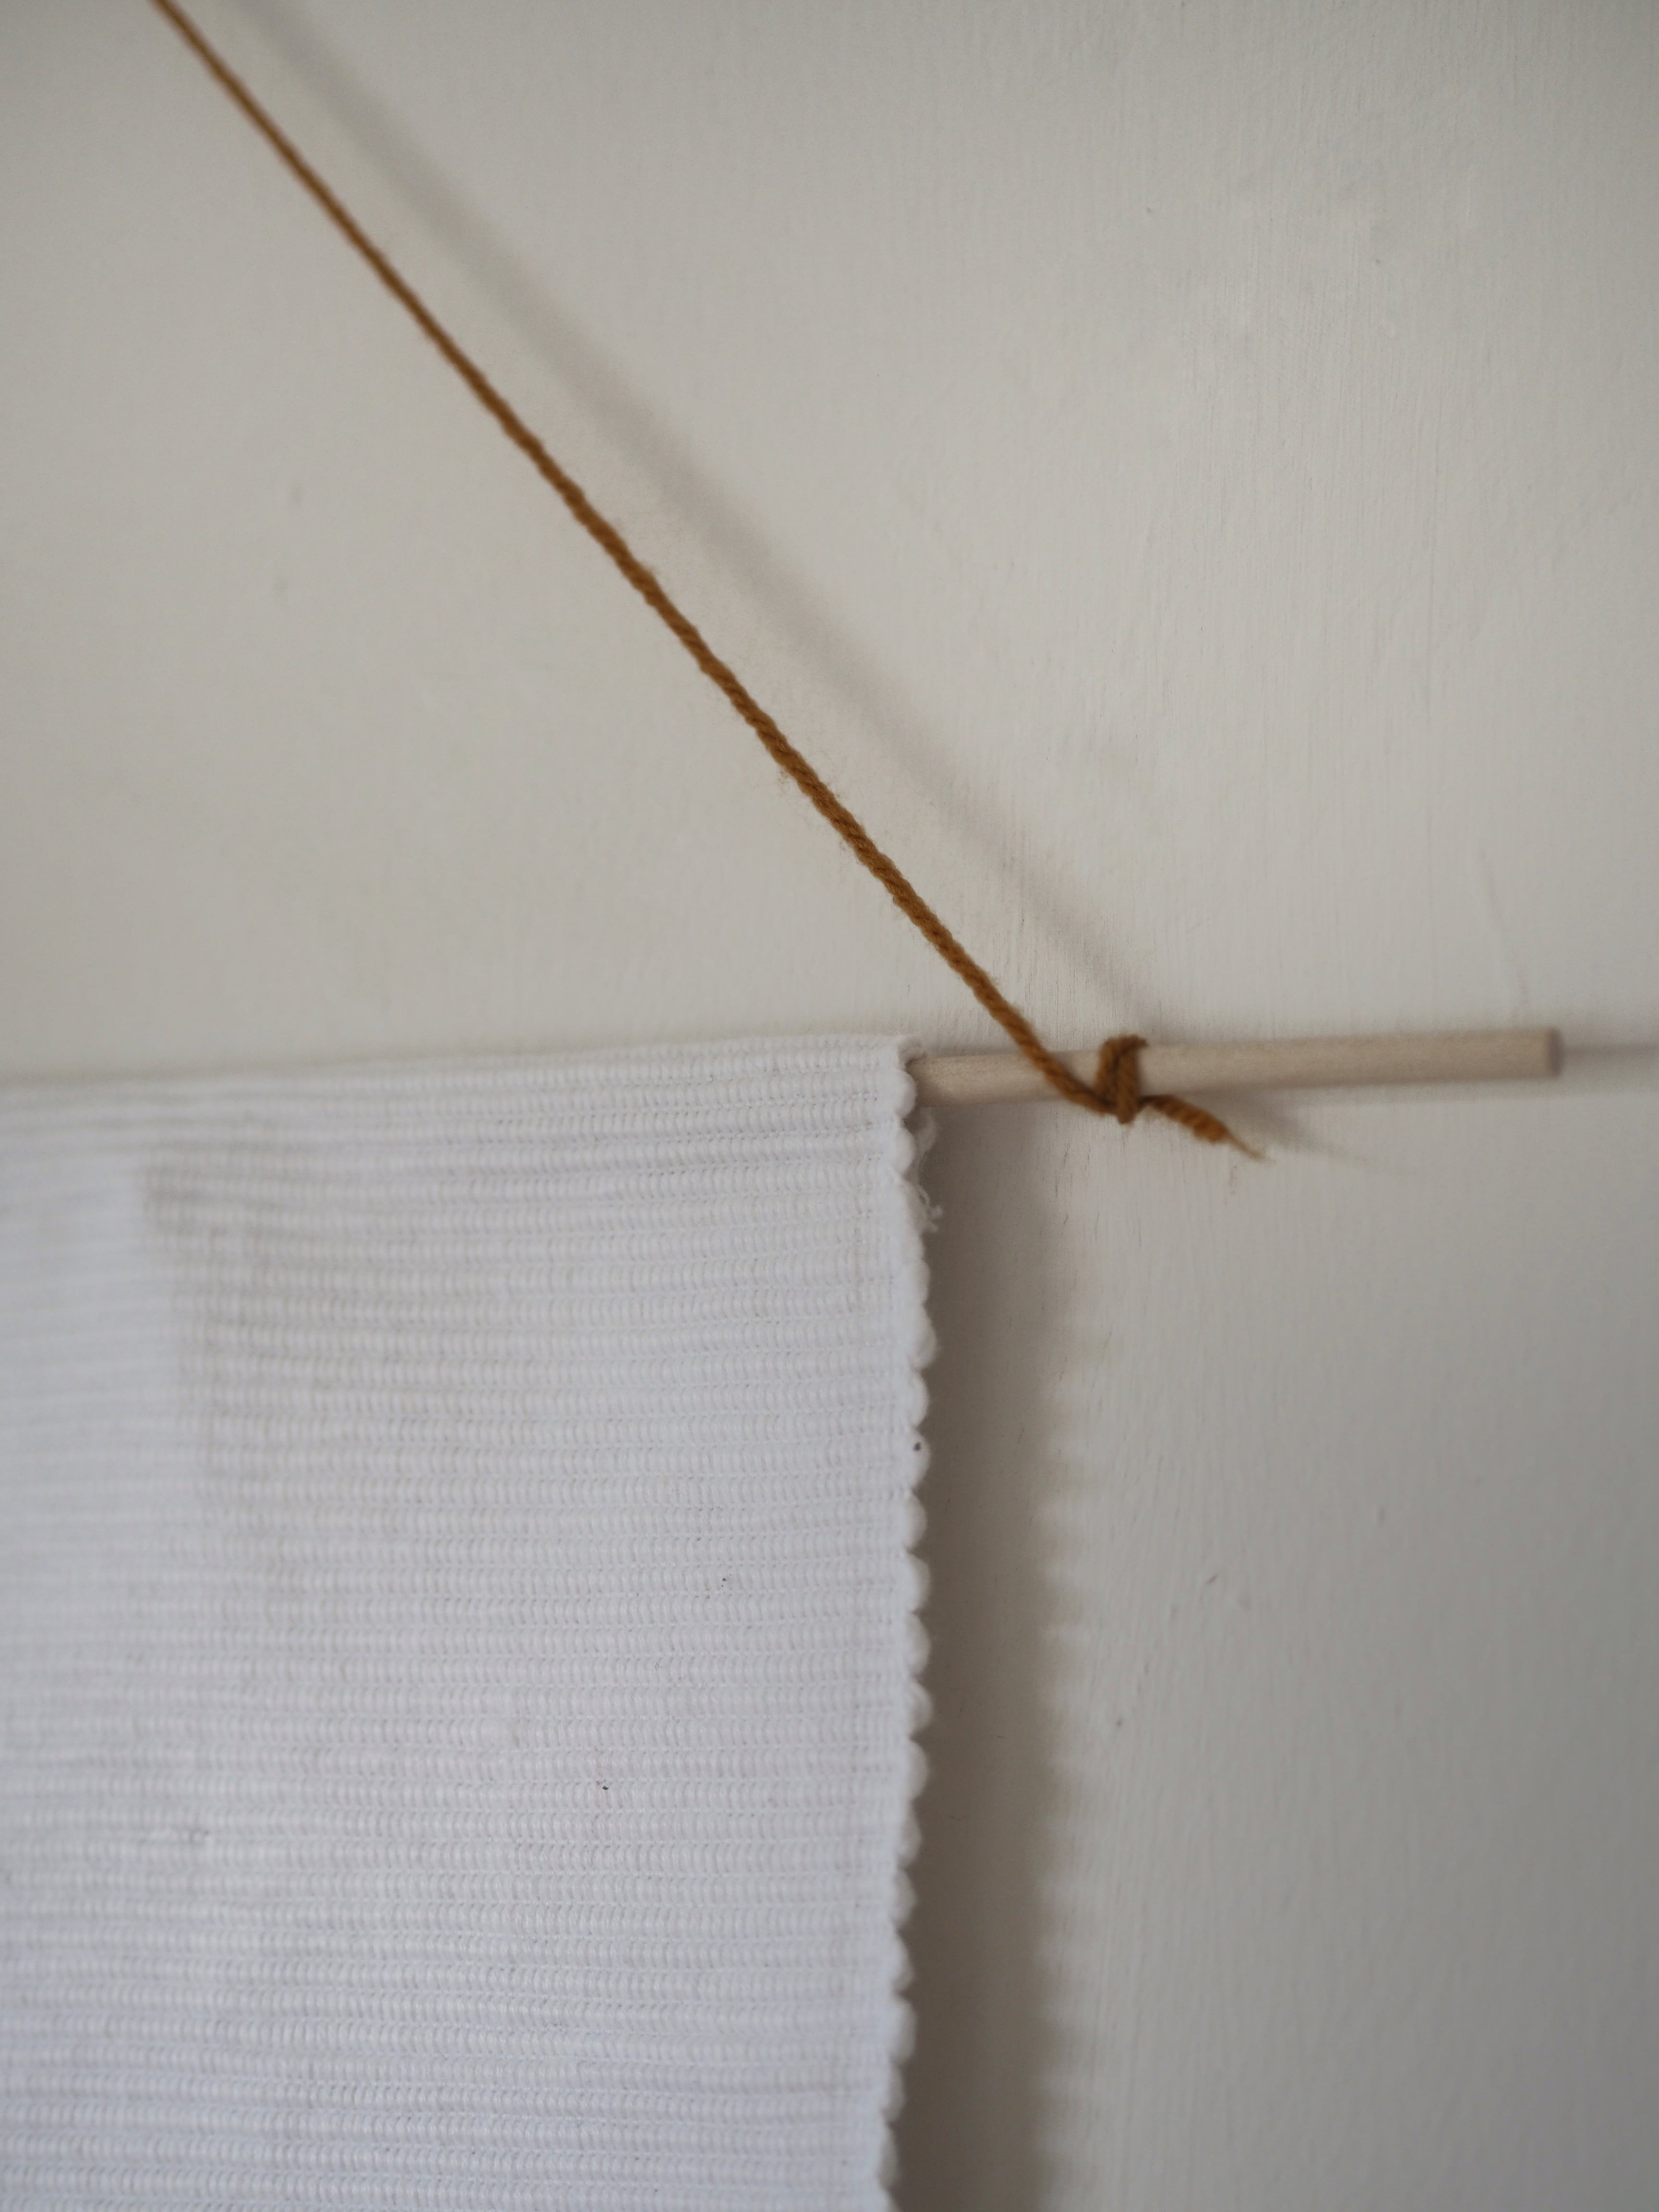
Finally I added a length of wool to either end of the wooden dowel, which I’ve used to ‘hang’ the hanging from. In reality this strand of wool isn’t strong enough to hold the hanging, so I’ve popped a couple of nails in the wall too which the wooden dowel sits on - the stand is simply for the look!
And that’s it! A beautiful, eye-catching addition to any room for just a few pounds. The great thing about a craft such as this is you can adapt the colours and design to any room or colour scheme, and can be as creative as you like.
What do you think - is this something you’d like to make?
Thanks for reading,
Sam Xx



-min.png)


No comments
Post a Comment