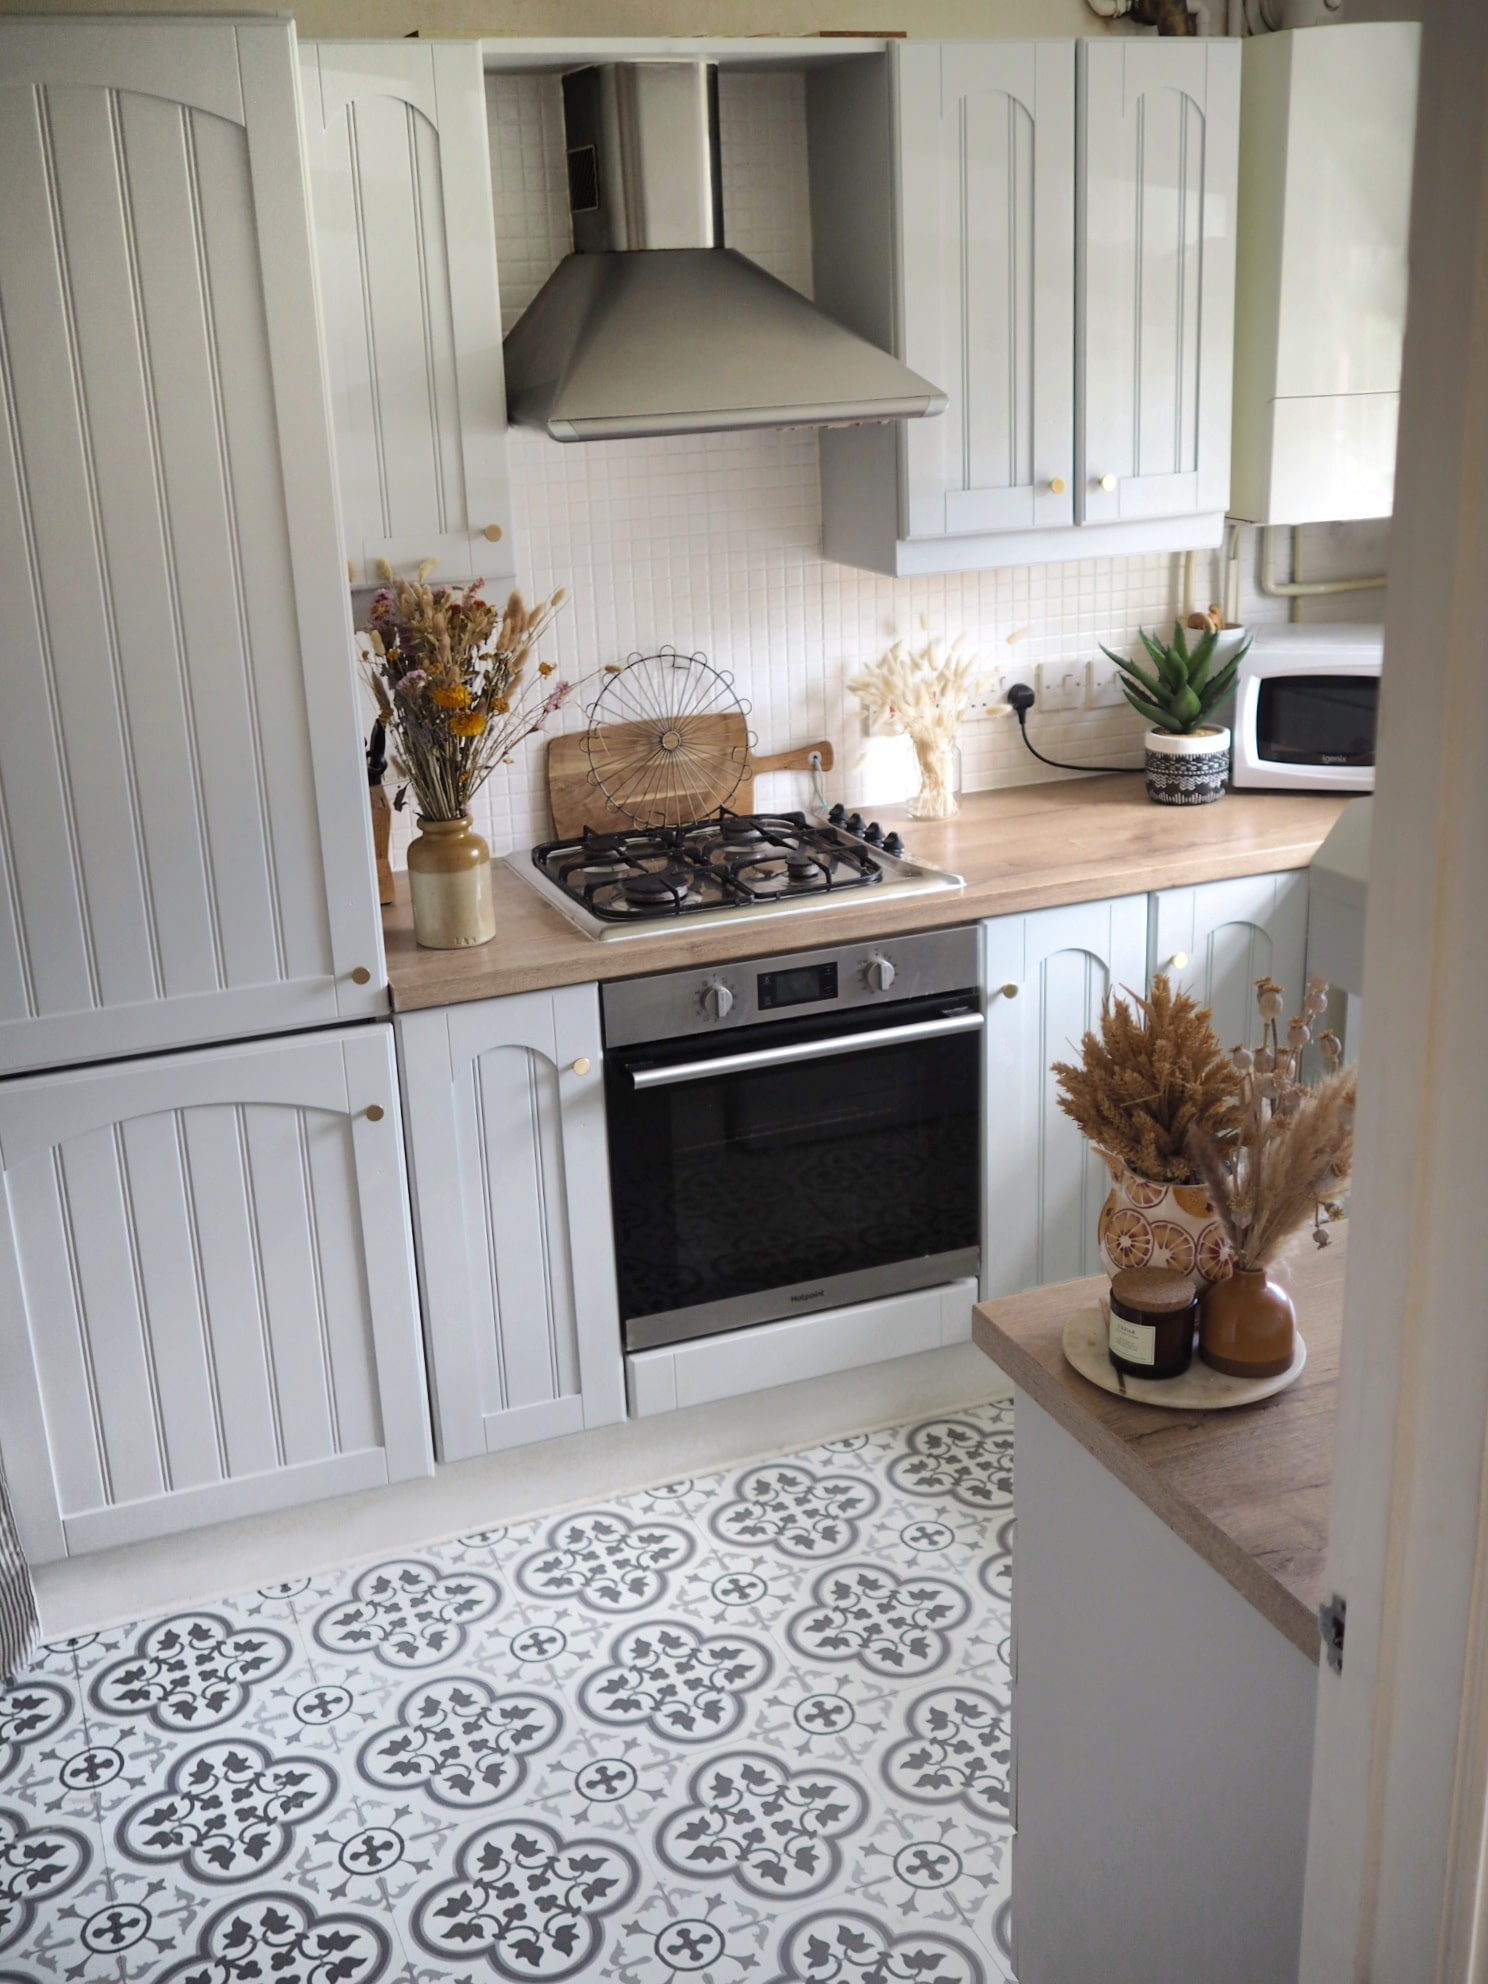
If you follow me on Instagram, you'll know that I've been on a mission over the past few years to transform my tired, old kitchen through budget-friendly quick-fixes and DIYs. So far I've painted my tiles (the DIY that kicked this all off!), added loads of new accessories, and laid a new floor using peel and stick vinyl tiles. Next up on the list is painting the kitchen cupboards - something I've wanted to do for years but always been so nervous to.
My kitchen was installed when the house was built 20 years old, so as you can imagine its past it’s best. The cupboards are made of mdf and covered in a vinyl wrap that's peeling, cracked and grubby. So armed with a heat gun and a paintbrush, I embarked on one of my biggest makeovers yet. And although this involved three full days of work, I hope you'll agree it was definitely worth the graft!
The before - with the original tiles on the left
Everything I used:
Heat gun - I borrowed this from a family member, but you can pick these up for around £10 from hardware stores
Rust-Oleum Kitchen Cupboard Paint in shade 'Dove' (only available online at Very.com*, £22.99) [Affiliate link]
Rust-Oleum Furniture Laquer (Homebase, £14)
Round brass knobs (Amazon, £7.99 for a pack of 4)
Brass cup handles (Amazon, £6.99 for a pack of 10)
Small foam roller
Small paintbrush
Frogtape
Prepping the cupboards
As I mentioned above, my kitchen cupboards are that kind from the 90's - made from mdf with the door fronts covered in a vinyl wrap. I therefore had two choices when approaching this revamp. I could either paint over the vinyl wrap, or remove the wrap completely and paint directly onto the mdf. I chose to go with the latter as on a number of the cupboards the wrap is peeling off the edges, meaning the finish wouldn’t have been great at all. So off they came! I was worried this wouldn’t be the easiest of jobs, but I couldn’t be more mistaken - all you need to tackle this is a heat gun!
Painting the cupboards
Next it was time to move onto the painting! There’s lots of different paint you could go for, some you’ll need to prime first, however I went for Rustoleum Kitchen Cupboard Paint. The good thing about this paint is it’s self-priming so you can paint straight onto any surface. Initially I wanted to go for a really dark navy colour, however I decided against this in the end as the room is very small and receives little natural light throughout the day, and I was worried it would make the space look even darker. So I went with the shade ‘Dove’ - I know, it was meant to be! It’s a really nice pale grey, that almost looks like a really cottage-style blue in some light, and I absolutely love it. Make sure you frogtape around your tiles/worktop to avoid getting any paint on those.
Next it was time to move onto the painting! There’s lots of different paint you could go for, some you’ll need to prime first, however I went for Rustoleum Kitchen Cupboard Paint. The good thing about this paint is it’s self-priming so you can paint straight onto any surface. Initially I wanted to go for a really dark navy colour, however I decided against this in the end as the room is very small and receives little natural light throughout the day, and I was worried it would make the space look even darker. So I went with the shade ‘Dove’ - I know, it was meant to be! It’s a really nice pale grey, that almost looks like a really cottage-style blue in some light, and I absolutely love it. Make sure you frogtape around your tiles/worktop to avoid getting any paint on those.
Finishing the cupboards off
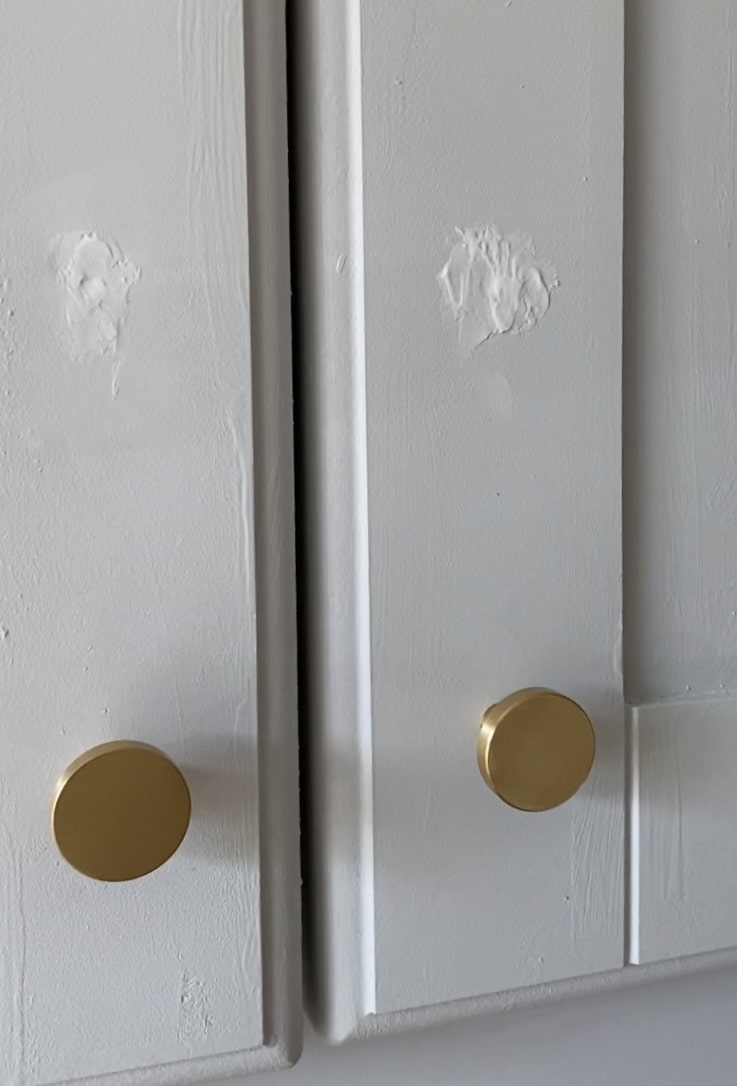
Once everything was dry I fitted the new knobs and handles. The original handles were chrome, so I updated them with some brass ones I found on Amazon - knobs for the cupboards and cup handles for the drawers. After fitting them I was left with holes from where the old handles were, which I filled using wood filler. Once this has dried you’ll need to sand down and repaint.
Once everything was dry I fitted the new knobs and handles. The original handles were chrome, so I updated them with some brass ones I found on Amazon - knobs for the cupboards and cup handles for the drawers. After fitting them I was left with holes from where the old handles were, which I filled using wood filler. Once this has dried you’ll need to sand down and repaint.
The final part to this process was to apply a clear furniture lacquer. I went with Rustoleum again, and chose a lacquer rather than a wax. You simply paint this on - don’t worry it dries clear! - and wait to dry. This will protect your paintwork from chipping, something essential in our high-traffic kitchen!
And you’re all done! In total this took me three full days to compete, and I’m not gonna lie it was hard work, but was absolutely worth it. I had a few ‘what am I doing?!’ moments, but I’m so glad I went for it. It’s given this tired old space a new lease of life and has completely changed the way I feel about it.
A brand new kitchen is never going to be a possibility in this home, however I’m so happy with the way a few quick-fixes have turned out over the years - I’ve previously painted the tiles (which cost me £10) and laid a new vinyl floor (£90 total) and had the worktop and sink replaced. If you’re too stuck with a kitchen that’s falling apart, or you’d just love to replace, then I’d absolutely recommend taking on a few DIY upgrades. You’ll be surprised at what you can achieve with just a few pounds and a weekend!
What do you think of the final look?! Is this something you’d like to do in your kitchen?
Thanks for reading,
Sam Xx
Thanks for reading,
Sam Xx


No comments
Post a Comment