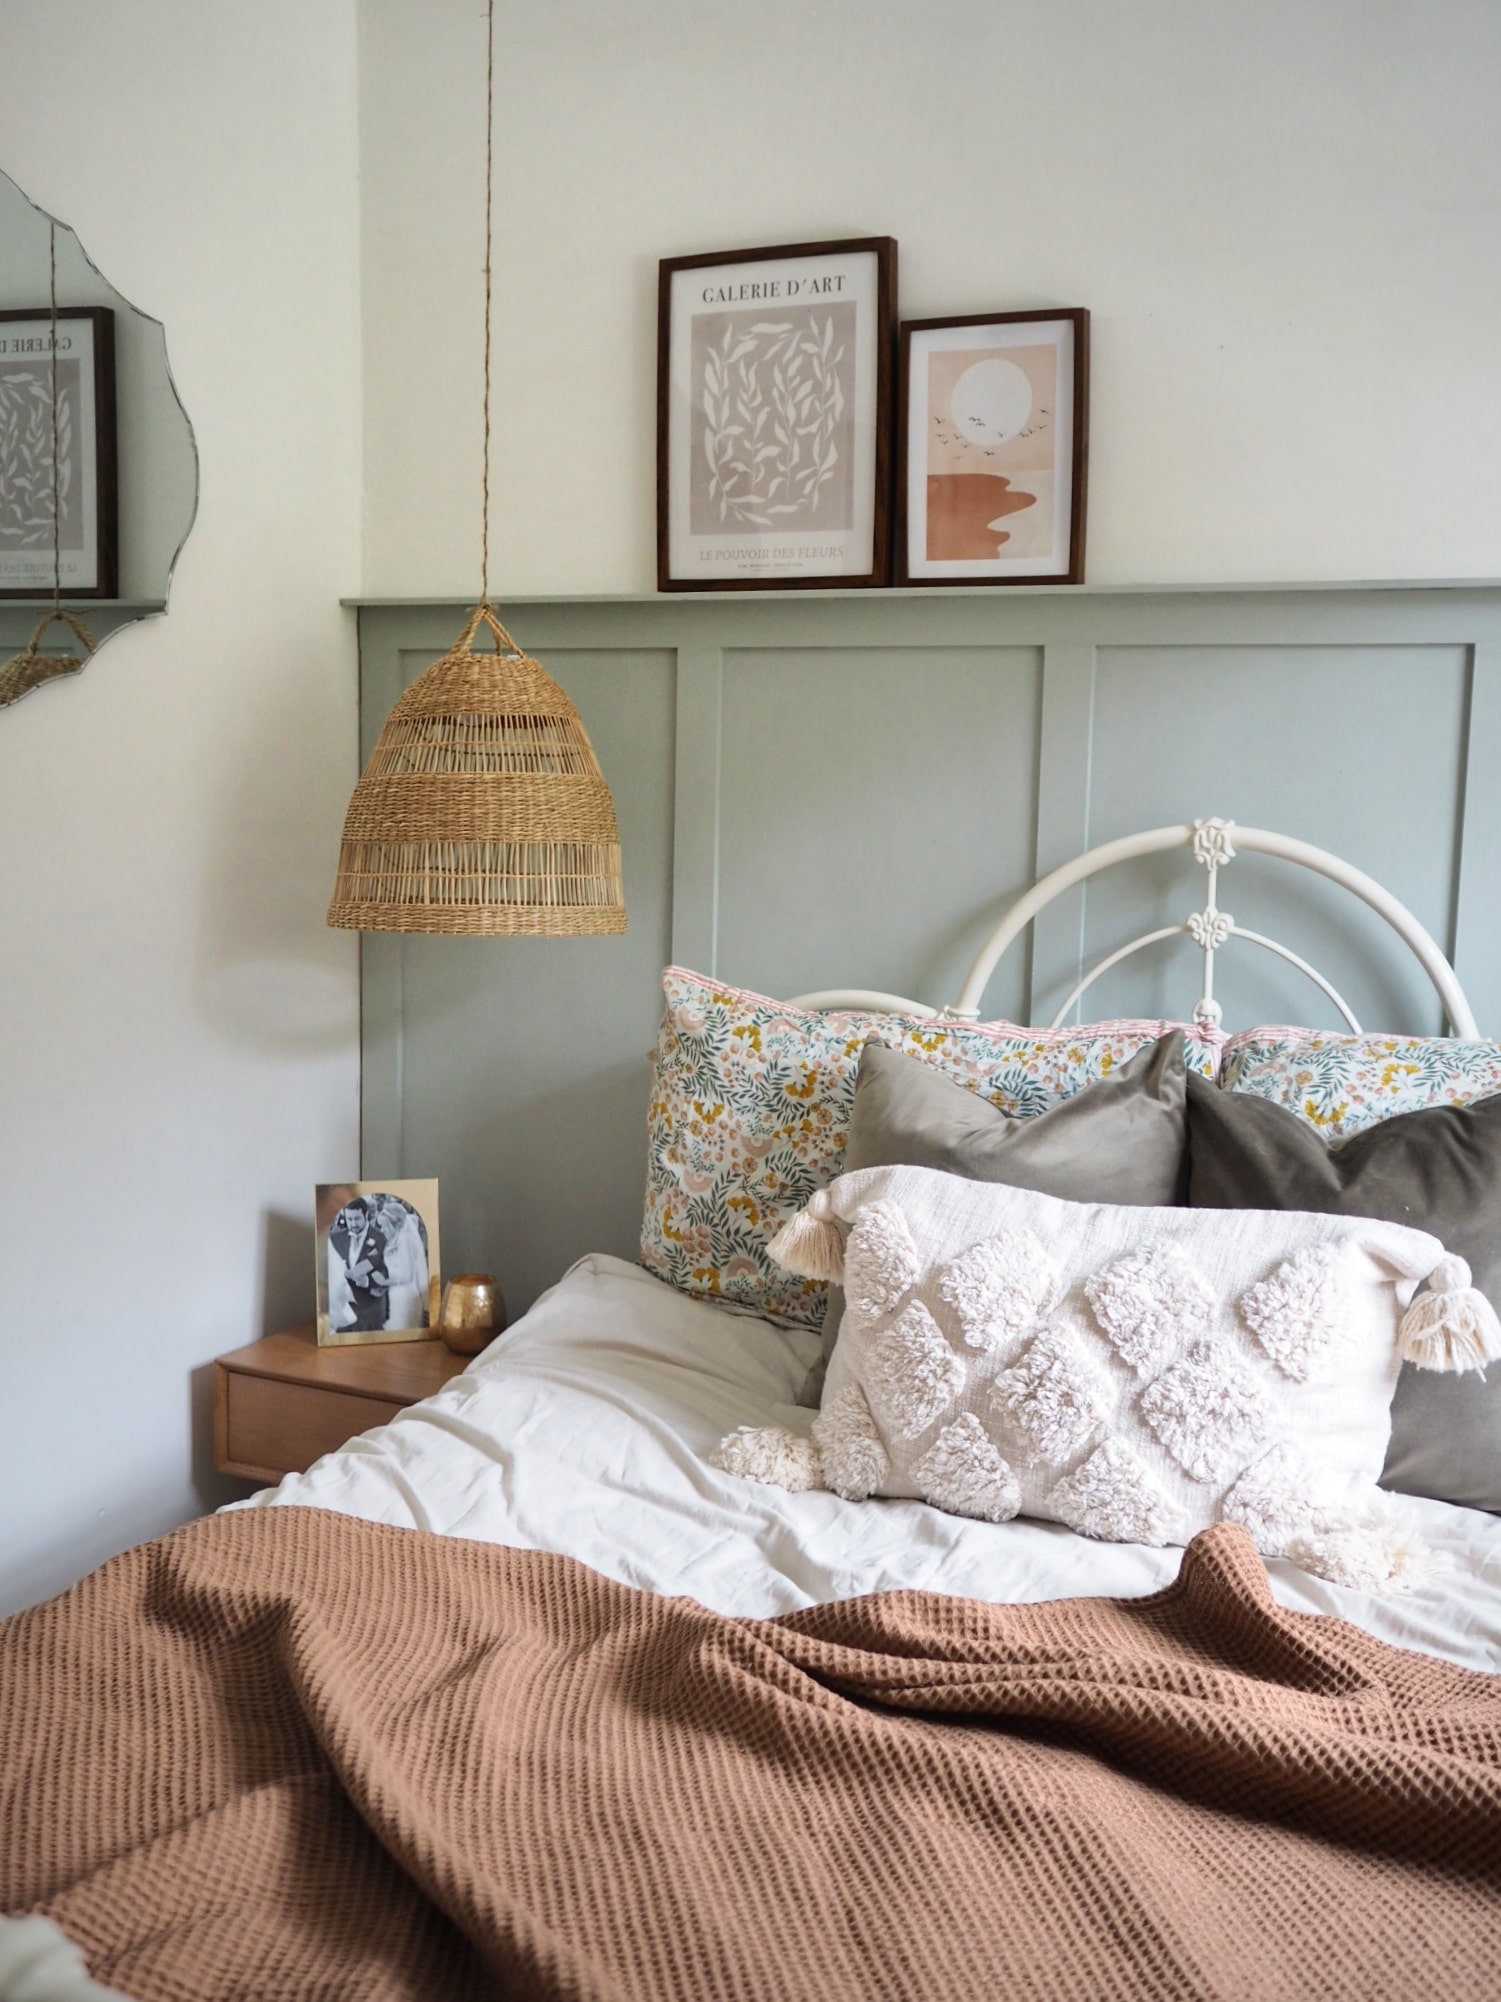
How to panel a wall: My DIY guide to creating a beautiful feature in any room
I knew that I wanted to tackle some panelling in here - I’ve previously put some up in our downstairs loo and still love it three years on.
So here's my step-by-step tutorial showing exactly how I installed DIY wall panelling in our bedroom - and while the process initially takes some calculations, I promise it's easier than you might think.
Step 1: Measuring your wall
The tricky bit. I'm not gonna lie, I measured and remeasured at least four times as I don’t trust my maths! Firstly, I measured the width of the wall - which is 256cm wide. I decided I wanted the panelling to sit above my headboard, so have chosen a height of 140cm.
I then worked out how wide I wanted each of my mdf pieces to be - I’ve gone for 6cm wide. You'll place one at either end of the wall, meaning I would be left with 244cm to fill with the 'panels'.
Step 2: Ordering the mdf
I decided I didn’t want to faff about with power tools, so investigated whether I could get hold of mdf strips made to measure. After a lot of digging around, I found a business called Cut My Plastic, who cut all my mdf strips to the correct size, meaning all I had to do was put them up. Absolute game changer!
Next, repeat the same process for the horizontal pieces. Again, keep your spirit level close to hand in order to check everything is straight as you go.
Step 6: Prep and paint
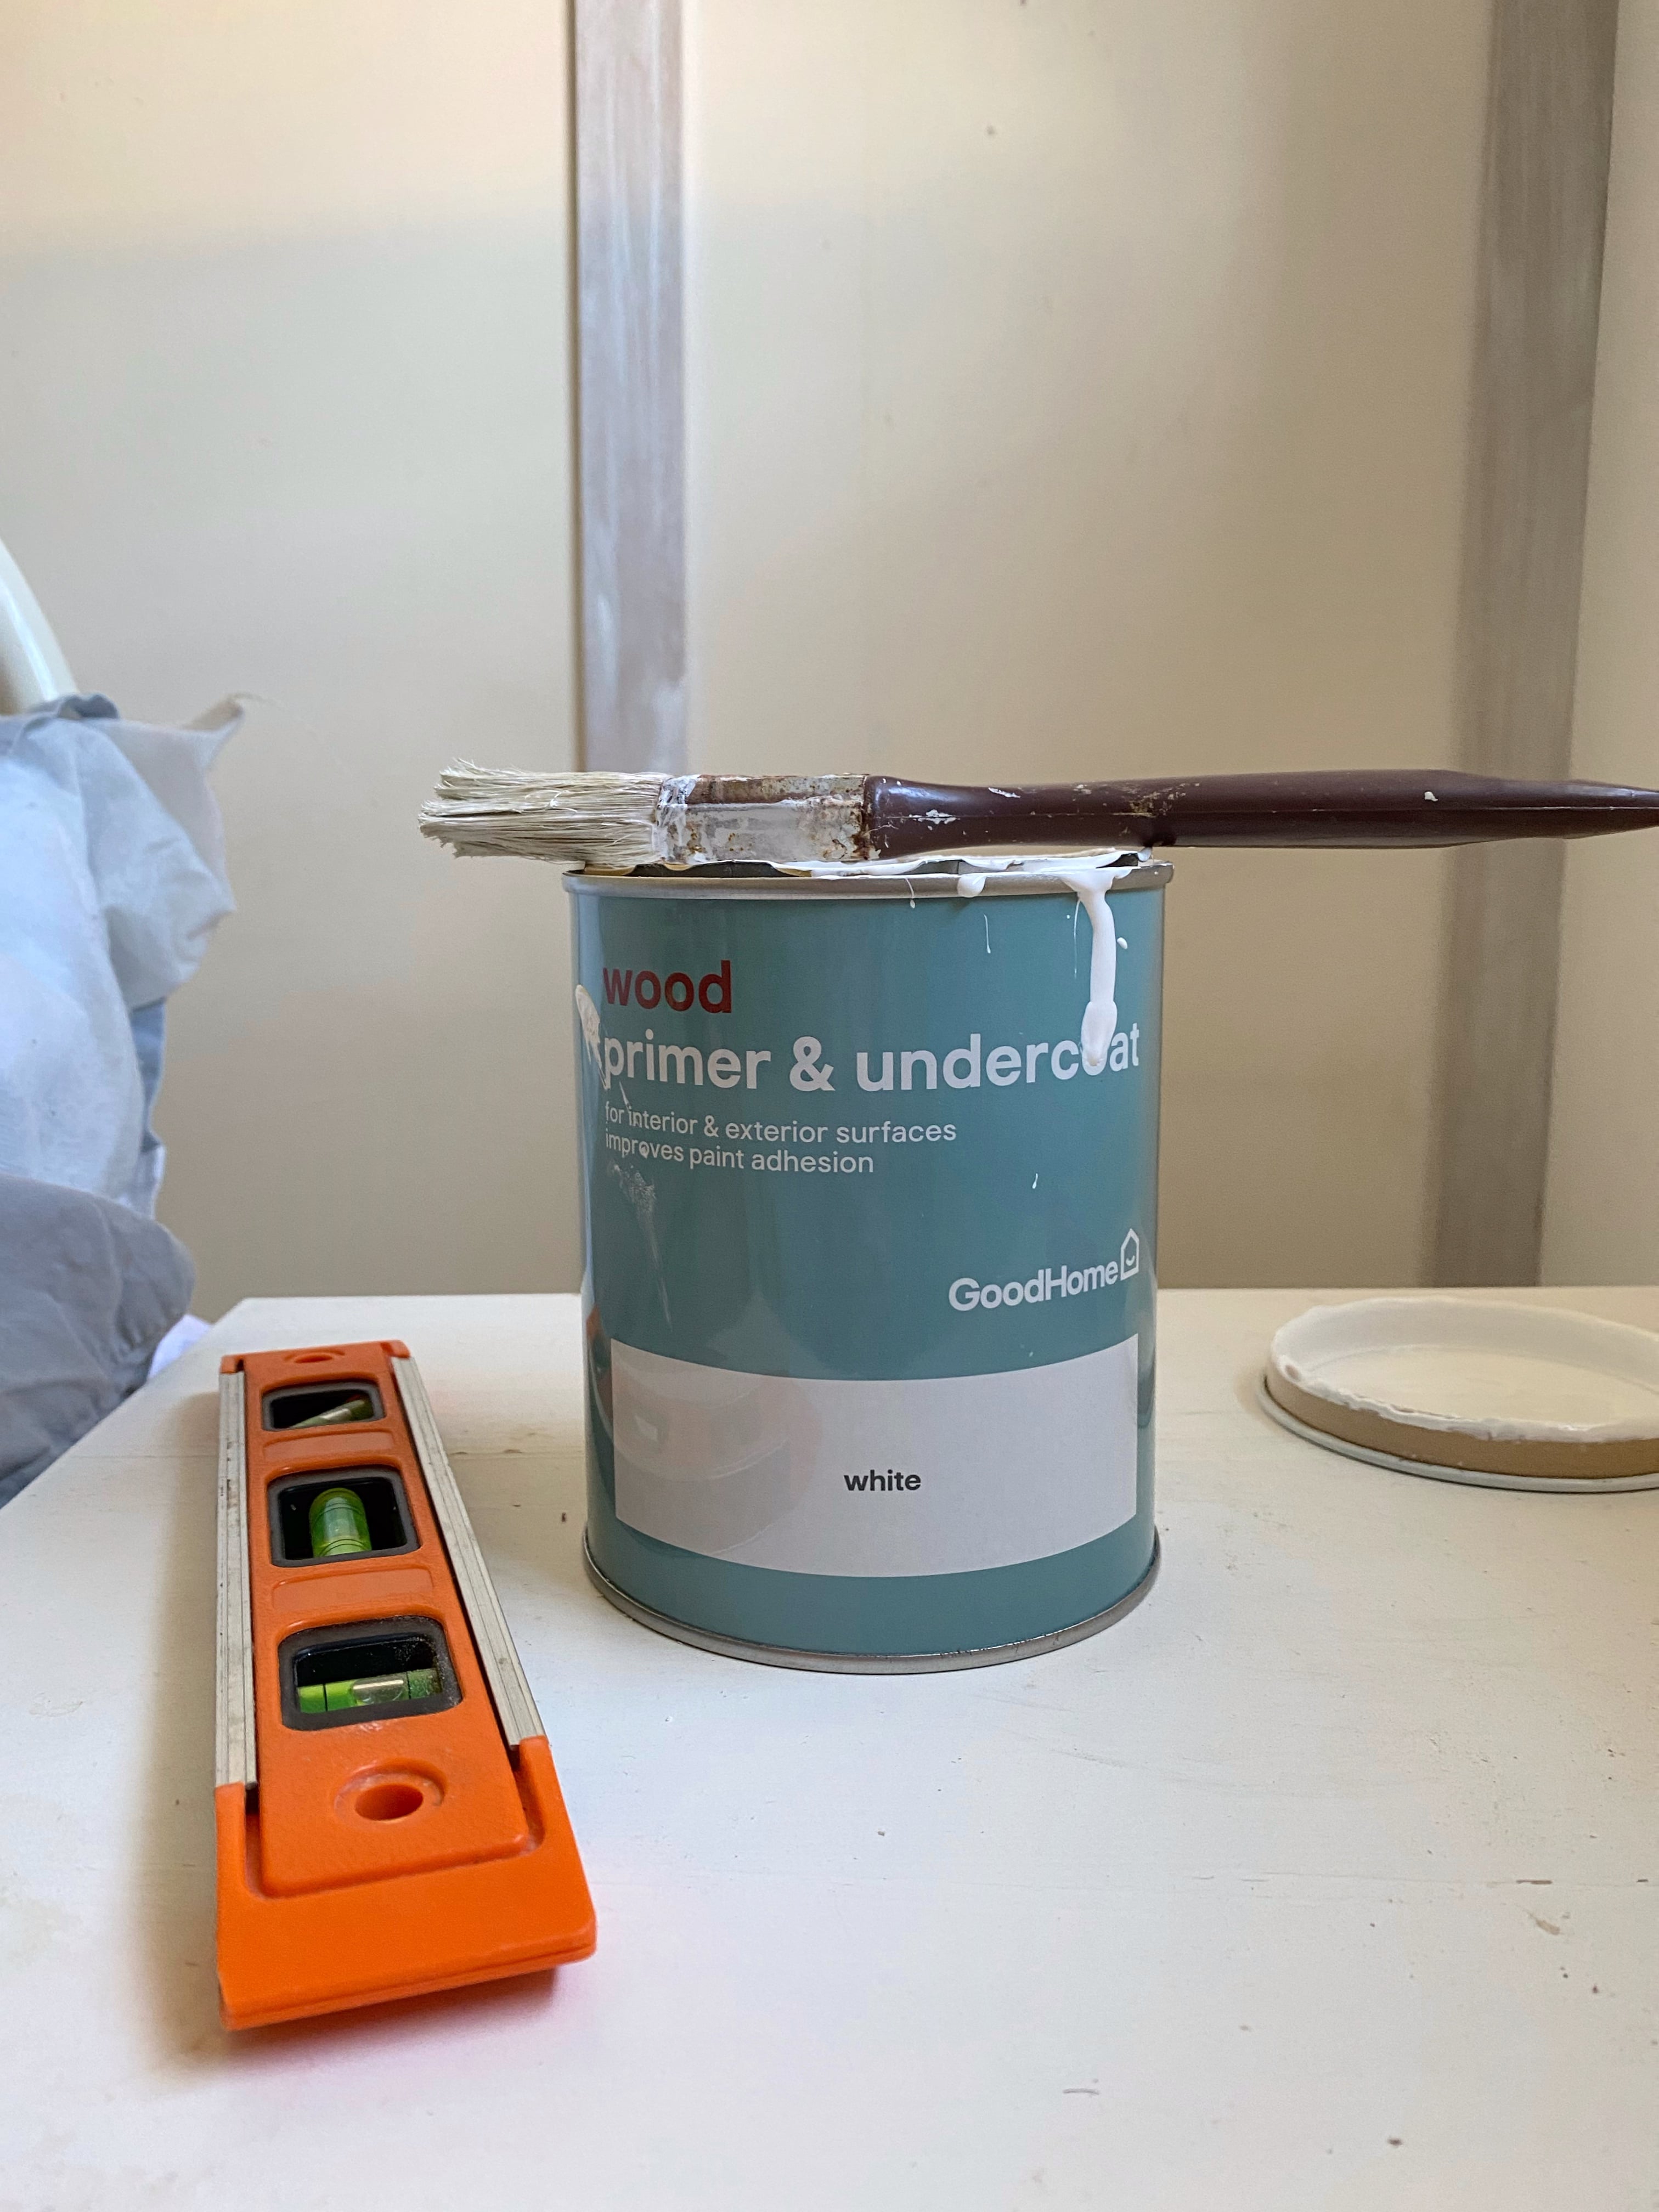
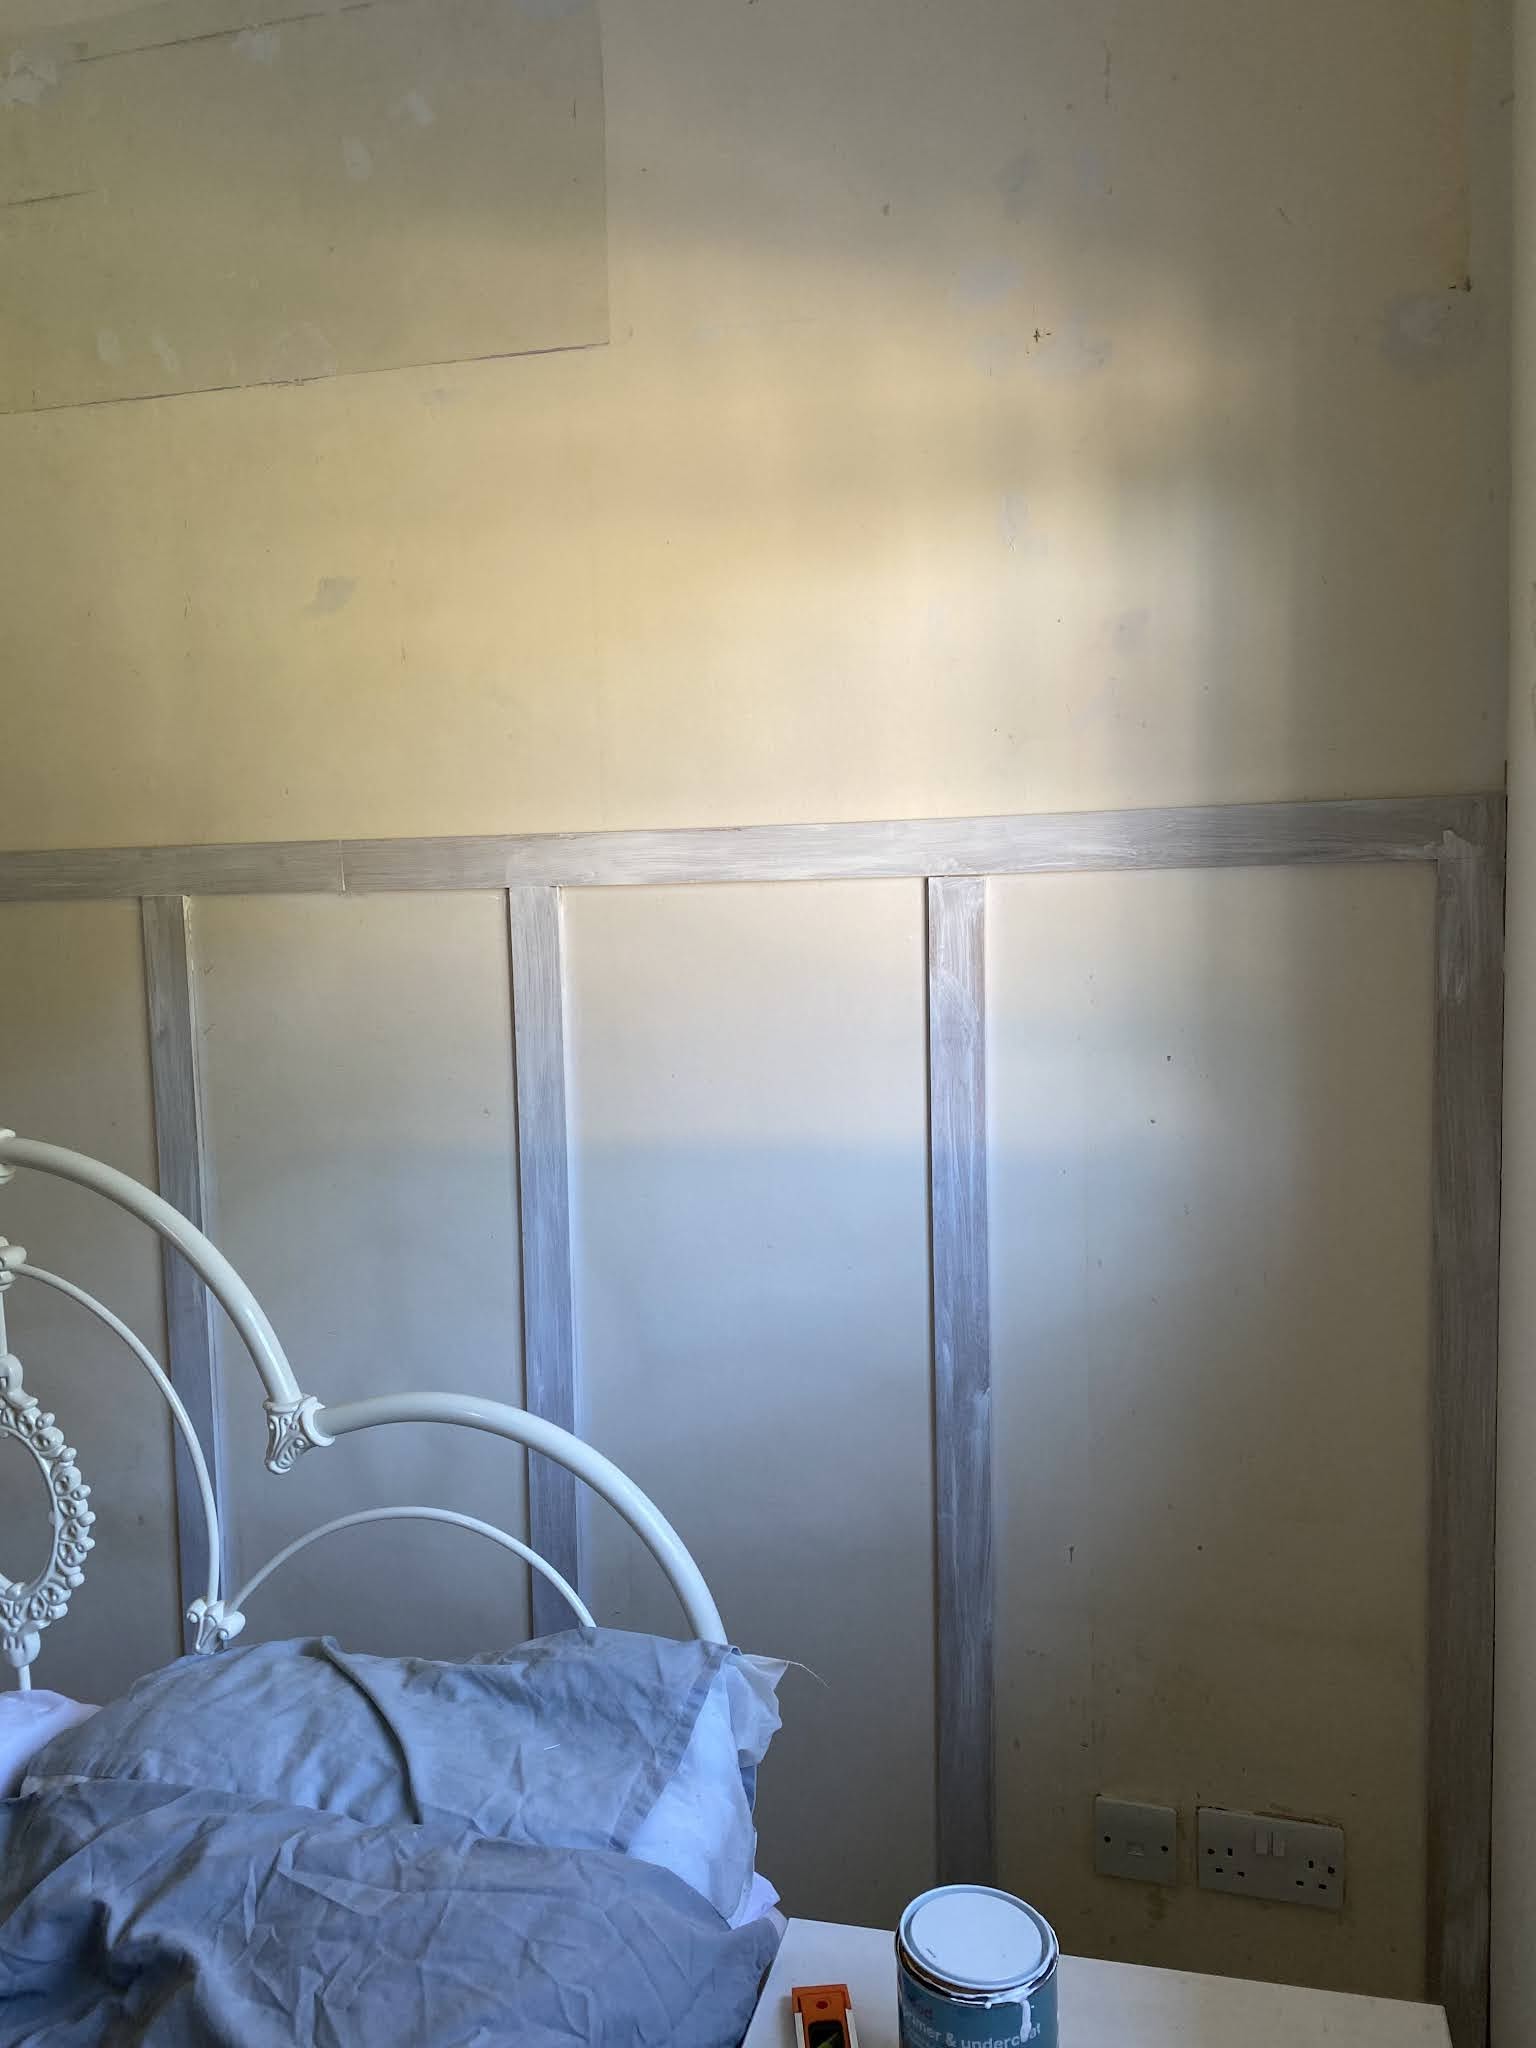
Start by priming the mdf with wood primer. Once dry you can then paint with your chosen colour - mine is ‘Moonstone Grey’ by Craig and Rose in Interior wall and woodwork paint. Paint across the mdf and wall at the same time, applying as many coats as you need.
Step 1: Measuring your wall
The tricky bit. I'm not gonna lie, I measured and remeasured at least four times as I don’t trust my maths! Firstly, I measured the width of the wall - which is 256cm wide. I decided I wanted the panelling to sit above my headboard, so have chosen a height of 140cm.
I then worked out how wide I wanted each of my mdf pieces to be - I’ve gone for 6cm wide. You'll place one at either end of the wall, meaning I would be left with 244cm to fill with the 'panels'.
I knew I wanted the middle ‘panel’ to be central to my headboard, meaning I had to work outwards from there.
I decided a total of five panels would look good, meaning I was left with 49cm for each space, including the 6cm for the mdf strips. It took me a little while to decide on this, so to help I stuck post-it notes onto the wall to determine the position of each mdf strip, playing around with the layout until I was happy.
After lots of calculations I went with the below measurements:
I decided I didn’t want to faff about with power tools, so investigated whether I could get hold of mdf strips made to measure. After a lot of digging around, I found a business called Cut My Plastic, who cut all my mdf strips to the correct size, meaning all I had to do was put them up. Absolute game changer!
My five ‘panels’, meant I needed a total of six horizontal pieces of mdf, and one vertical piece going across the top. The vertical pieces I needed were too long to be delivered safely, so I divided my 256cm measurement in two, ordering four 128cm pieces of mdf, two for the vertical strips, and two for the ledge, which I had cut to a slightly thinner width of 5cm.
Just in case this is helpful, below is my full order:
6x 6cm wide MDF strips at 140cm long and 9mm thickness (vertical strips) = £14.64
2x 6cm wide MDF strips at 128cm long and 9mm thickness (horizontal strips) = £4.62
2x 5cm wide MDF strips at 128cm long and 9mm thickness (ledge) = £4.00
Total price (including VAT & shipping): £28.21
Step 3: Installing the panelling
First things first, mark on the wall where each piece of mdf will go. By doing this, you don’t have to measure everytime, and can make changes as you go. Use a pencil so you can rub out your marks if you need to.
First things first, mark on the wall where each piece of mdf will go. By doing this, you don’t have to measure everytime, and can make changes as you go. Use a pencil so you can rub out your marks if you need to.
Next onto the fun bit: sticking! Start with the two pieces to be stuck onto either end of the wall. Apply No More Nails to the back of the mdf liberally, and stick to the wall firmly.
I found it helpful to lightly stick to the wall, and then use a spirit level to make sure it’s straight, before pushing firmly to stick the mdf to the wall. Then work your way along the wall, doing the same for all your vertical pieces.
Step 4: Adding a ledge
Finally, I added a ledge to the top of the panelling. For this I used another piece of mdf, measuring the full width of the wall but this time slightly thinner at 50mm wide.
I applied no more nails to the edge which fitted to the wall, as well as along the top part of the panelling already on the wall. Again, stick firmly and use your spirit level to check it’s straight.
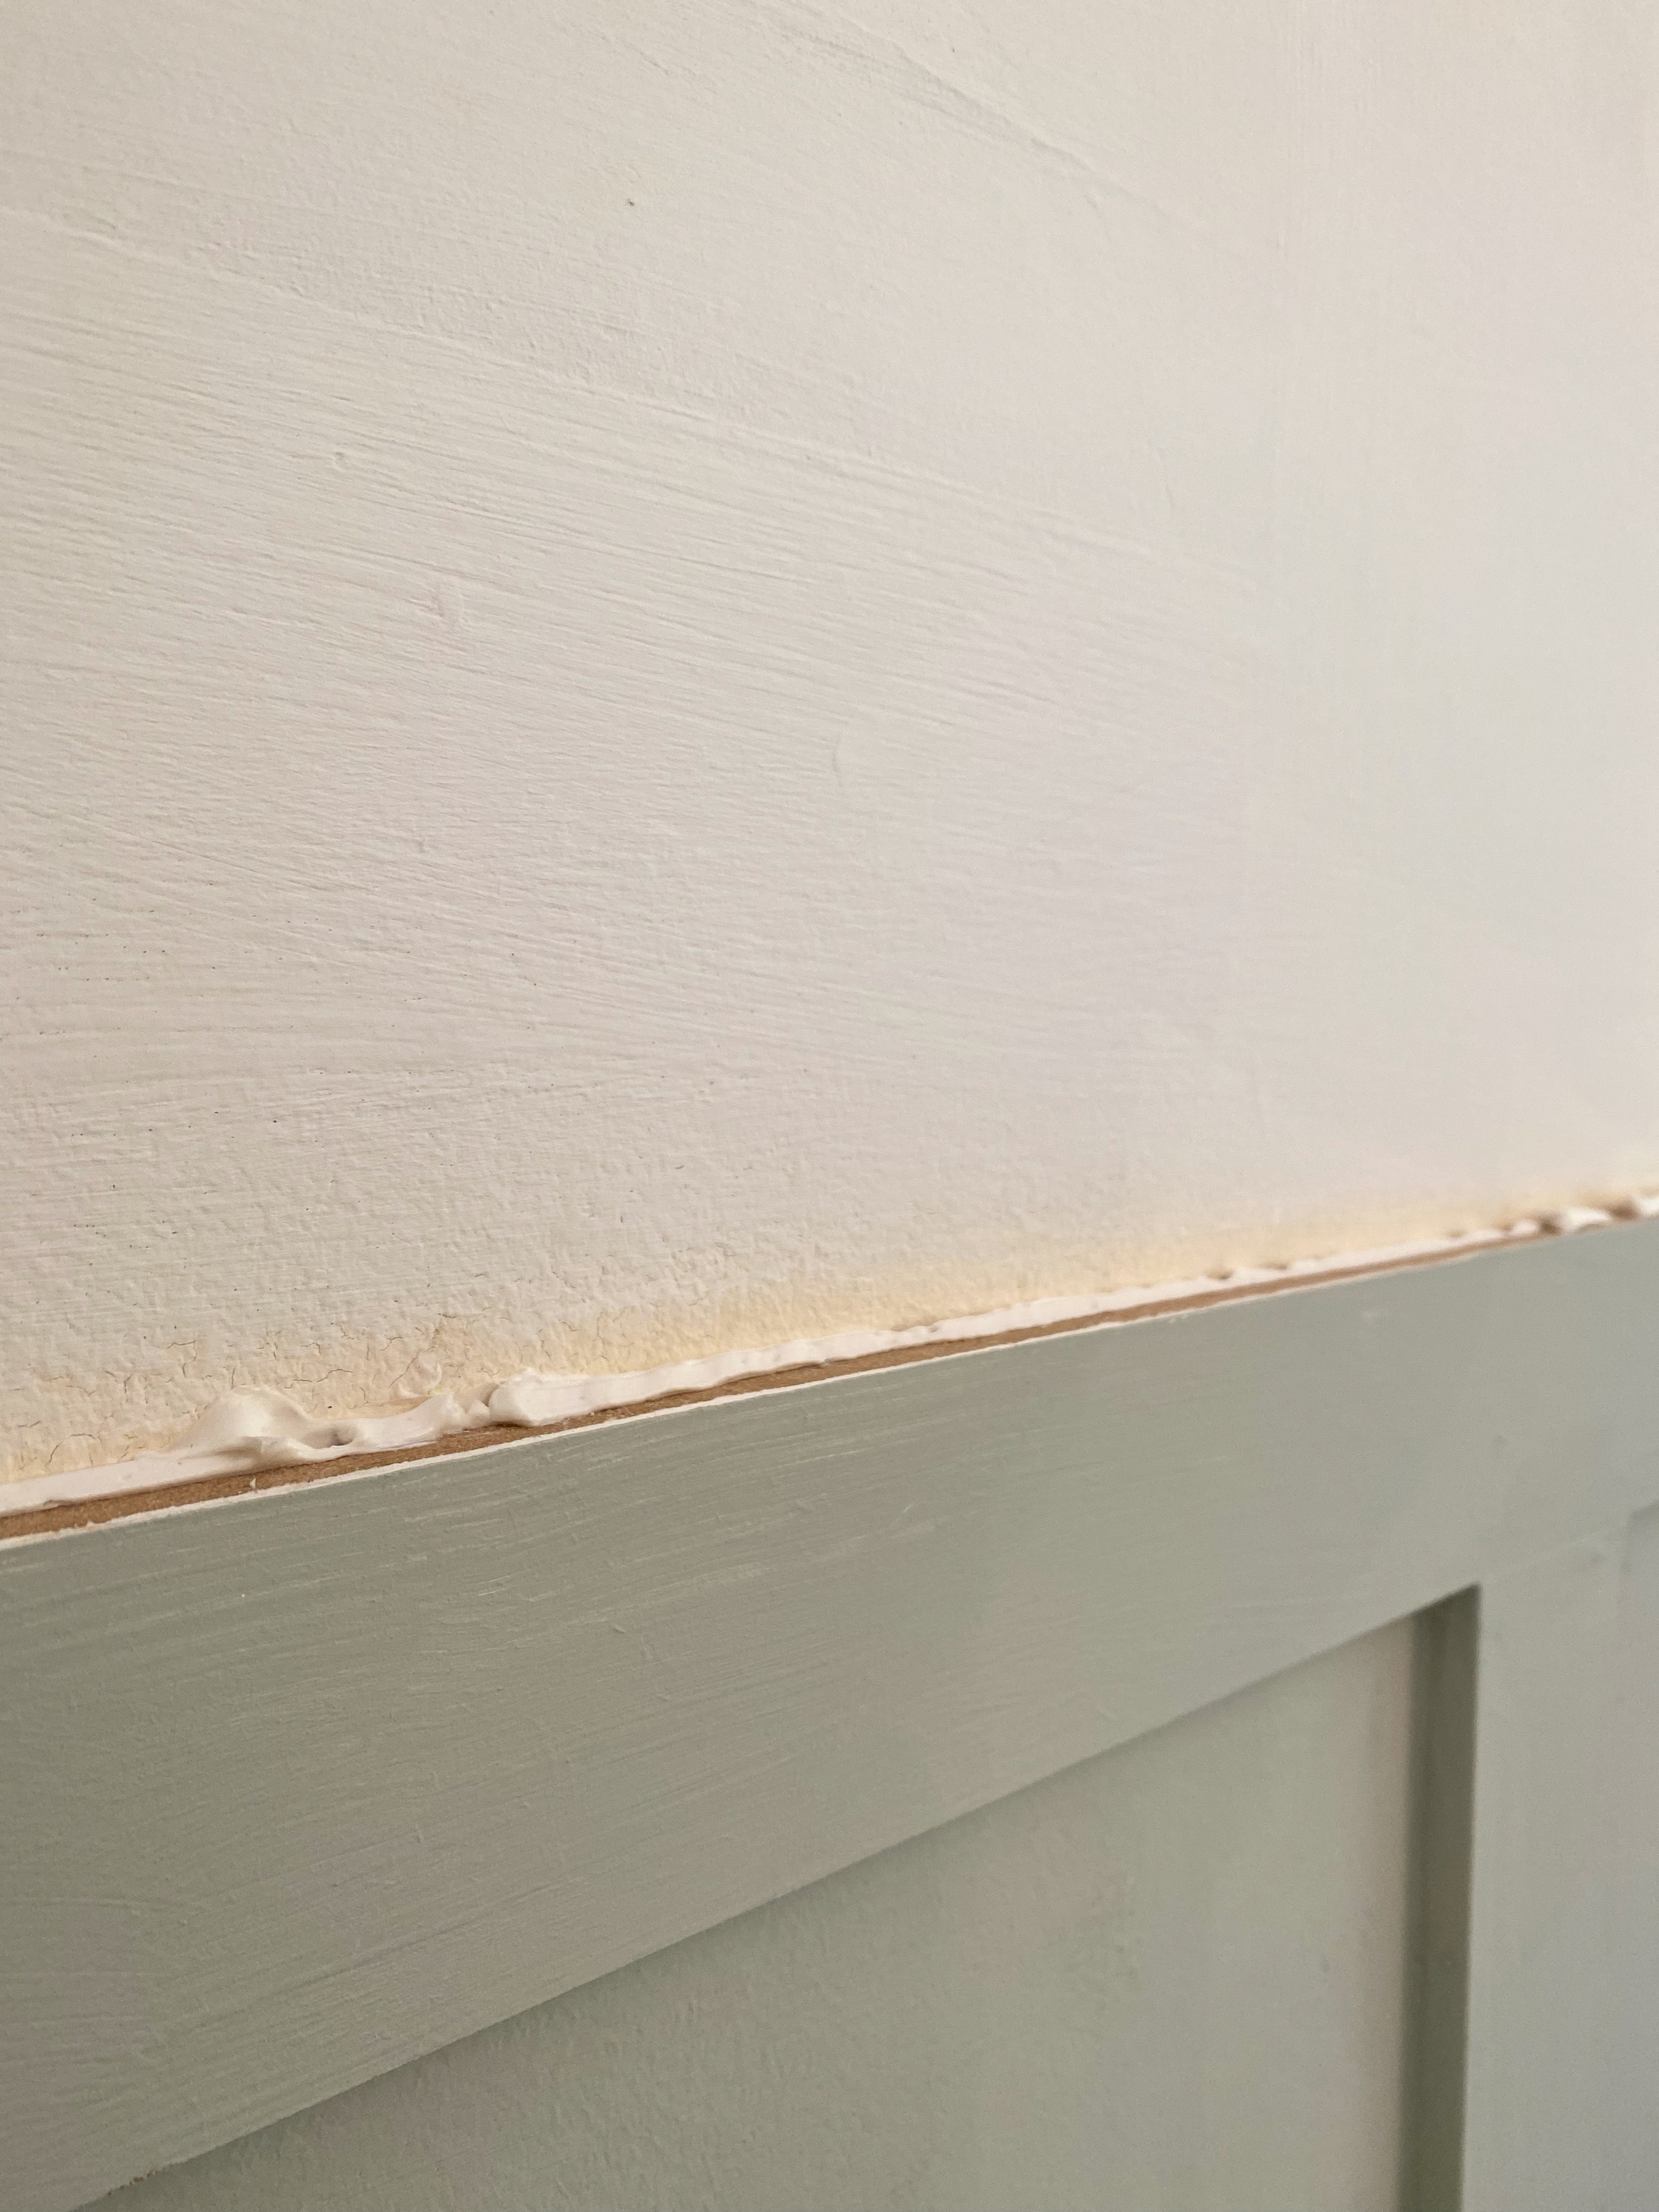
You might find there are gaps between the wood and your wall - this is probably because not all floors/walls are dead straight! You can fix this with Decorators Caulk or wood filler, if your gaps are quite large.
Apply along the edges of all your mdf to fill the gap between the wood and the wall. After you've applied the caulk, run a wet finger or damp cloth along it to seal.
Step 6: Prep and paint
Start by priming the mdf with wood primer. Once dry you can then paint with your chosen colour - mine is ‘Moonstone Grey’ by Craig and Rose in Interior wall and woodwork paint. Paint across the mdf and wall at the same time, applying as many coats as you need.
I then painted the top half of my wall in ‘White Chiffon’ by Dulux to match the rest of the room.


No comments
Post a Comment